It’s that time of year again…garden time!!
Last year we planted our very first vegetable garden. It was great – we actually built 2 raised beds and had some great success with it! You can check out my post on the beginnings and plans for last year’s garden here and here. Here is the post about our warm weather bed.
This year I actually decided to make things a little simpler on myself since we have a 3 week old to take care of! I eliminated some of the less “fruitful” plants like broccoli and cauliflower, and stuck to greens etc for the cool weather bed.
So here was my original plan for this year:

And here is what I actually ended up doing (it always changes a little once you get out there!)

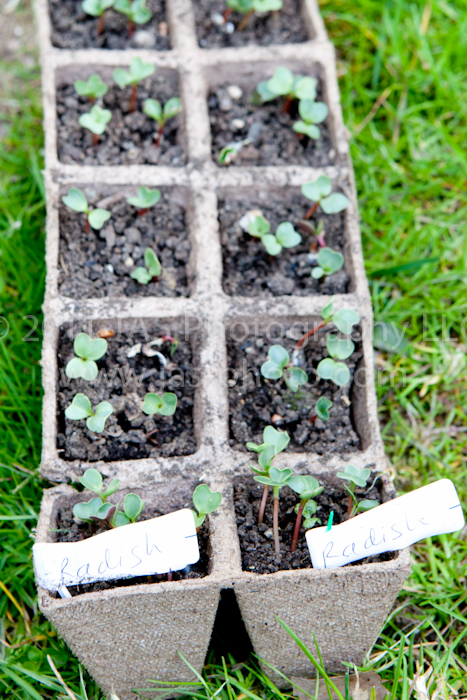
R actually helped me start some plant starters from seed this year
It is so warm in our hallway, combined with the cover on the tray, the seedlings sprouted within 1-2 days!
The problem was that I think it got a little too warm, and they got some white fuzzy stuff on them which I think may have been fungus? So I took off the cover and it went away, and they look pretty healthy now. I planted lots of seeds in each compartment in case some didn’t grow, so now I need to take out the extras to give room to each plant to sprout roots and get bigger!
‘
The garden is pretty much complete except for the arugula that I need to put in from our starters – for some reason those are staying the smallest! I may have to buy starters instead of using those that I made if they dont get bigger soon. I thinned them out quite a bit today, so hopefully that will help.
Sadly a deer apparently found our garden and put huge holes in the areas where I planted seeds…hopefully they’ll still grow!
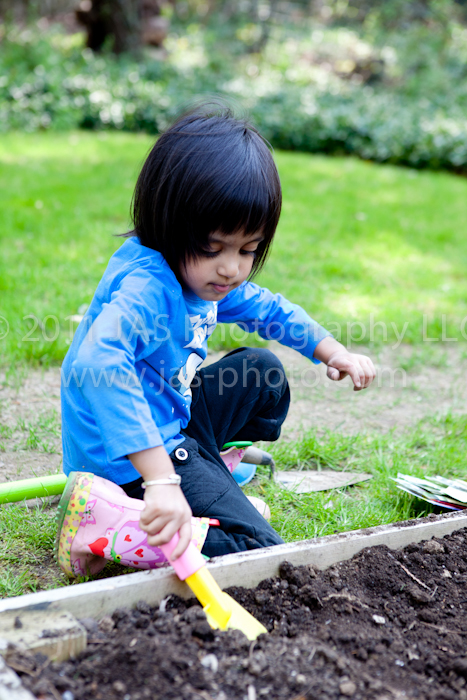
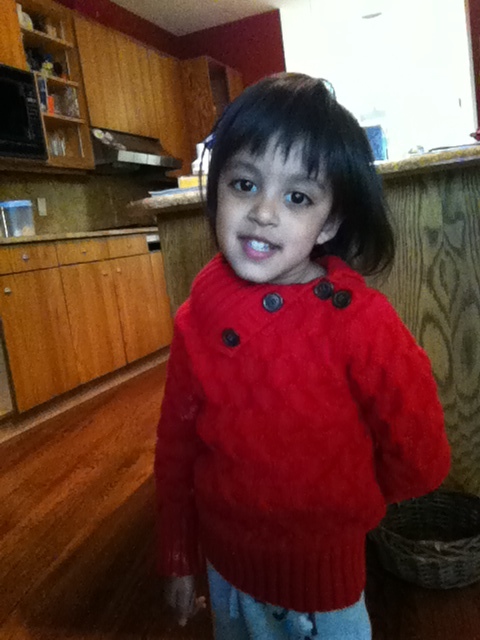
Here is my helpful assistant showing me her “awesome” shovel! I’m excited that this year she will actually make more sense of the whole gardening process and will get excited about it!

And digging big holes for the seeds to go in…
My radish starters, which I ended up not using because of the fuzzy white stuff I saw on them before.
Hopefully we will get some good yields this year!
My two kiddos
An impromptu photo session on a blanket in our hallway. Enjoying the sun from the skylights. The two kiddos marveling at each other…and me marveling at them!

Experimenting
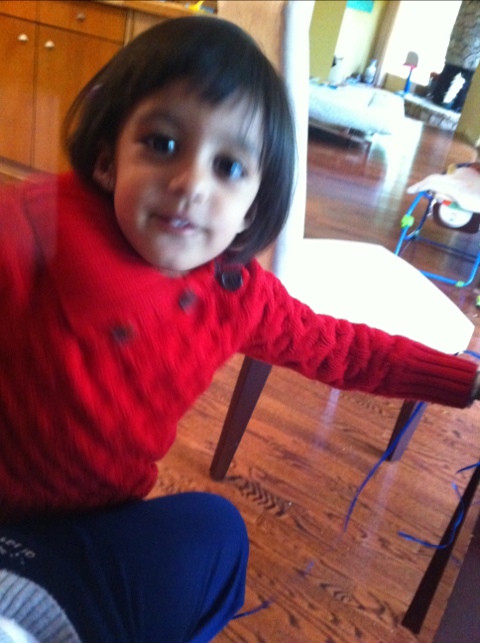
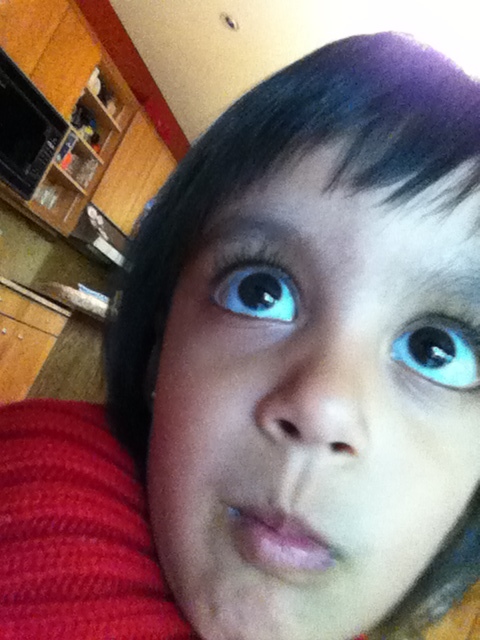
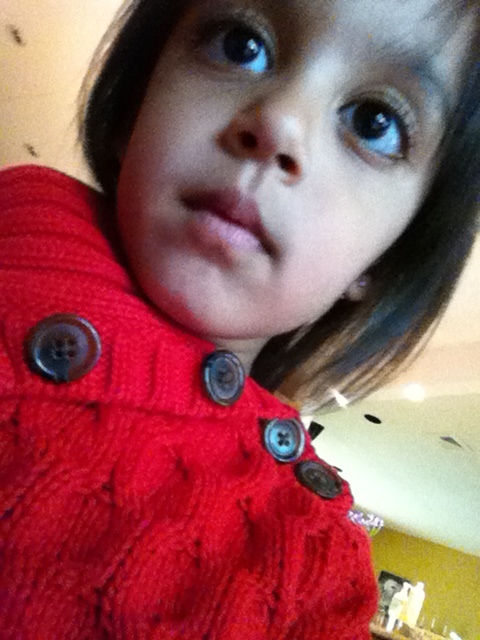
Sometimes I let my daughter have fun taking pictures on my phone. Since I love photography So much I’m trying to foster her creativity!
Here are some fun images from today’s experimenting. It is fun to see them all together! A little tip: while it is really hard to get a picture of her the normal way, she enjoyed taking pictures when she could see herself on the screen!


Newborn pictures!

As I have been getting used to being a mom of two, I have been having fun taking pictures of my new son for the last few weeks.
It has not been easy since it has been cold here, and newborns don’t like to be cold!

I didn’t get all the pictures/poses I wanted, but I definitely got a few that I am very happy about!

I must say though, it is not easy being the mom who nurses the subject to sleep, AND the photographer! It requires a lot of running back and forth =)

I did manage to get some pictures with him awake as well – which was fun too!


By far the hardest has been getting pictures of BOTH kids together – mainly because R did not want to cooperate!

However, a “kit kat” bribe always helps =]

Luckily, my husband was able to catch a pic of me with our new son as well!

Weekly Photo Challenge: 2 Subjects
For this week’s weekly photo challenge at the Daily Post, “Two Subjects” I have the following pictures of my husband and daughter.

What I love about this picture is that they are both so natural appearing. They both have a hard time smiling for the camera, so they just played – and of course that yielded the best results.
Here is another one – where they are just being plain silly. I love it!

Our little package has arrived!
Sorry for the radio silence, but I have been busy delivering this cute little package =)

He’s already a great baby, sleeping and eating lots! I’m sure that will change in the next couple weeks as he becomes more aware of his surroundings, but we are enjoying the peacefulness while it lasts!
‘
I might put up a pattern for this hat I whipped together for him..it is the only one I have that actually fits him and stays on his head!

Have a great day!
A 30 minute nursing cover
One of my sleepless nights (thanks to my belly and bladder) led to this impromptu decision:
A homemade nursing cover =)

Thanks to my phone I found this blog post which explains very nicely and simply how to make your own nursing cover.
I think it literally took about 30 minutes. Okay, maybe 60.

Of course, I took some shortcuts: instead of hemming the sides and bottom, I just used piping (after serging the edges). I also used D rings to attach the strap instead of an overalls buckle.

I’m excited to have a second cover now – one I can keep in my diaper bag and one in our living room.
I might make another just for the heck of it since it was so simple!

So if you want to make one, check out this tutorial.
A note on the boning for the curved part of the cover – I used plain boning that looks like the pictures in the tutorial. But after making it and seeing my store bought one, I would buy the boning that comes already encased in fabric – I think it is a little bit stiffer and will stay in place better.

Well that’s it for today!
Short and sweet… Have a good day!
Super simple newborn pants
I finally started setting up the baby’s newborn clothes in my dresser, and realized that I needed more cute pants!
So, I went online and found a super simple newborn pants patterns on Made-by-Rae here.
I also took apart an old pair of 3 month pants that were stained and used that to make a larger pair.

And this is what I came up with! I love them! From cutting to hemming, they literally take about 30 minutes. It’s great!!
Plus, they are too cute =)
I haven’t yet made any with embellishments like pockets or trim – mainly because I wanted to just get a few done before the babe comes…so I started with these!

If you are interested in making a pair, check out rae’s pattern and site!
Off to the next project…!
Nursery Project #5: Recovering a nursery glider

IT’S DONE!
I finished the glider! It took about a week of sewing and wrinkling my nose, finger pricks and being best friends with my seam ripper…but it is finally done.
I have more pictures to put up later as a mini-tutorial, but I thought I’d share the finished project.
As you can see above, I also made a little yellow and white chevron pillow cover for a lumbar pillow to go with the theme.

I did my best to match up the fabric at the seams, but obviously did not do so perfectly. For the most part, however, I did manage to at least match up the main vertical lines.

I was worried about how I would handle the hardware from the original cushions, but I borrowed Ashley from Lil Blue Boo’s idea and made little slip covers for the straps, so I could use the original hardware.
‘
Next step: need to scotch guard the whole chair, because I know there will be lots of milk (and other goodies) spilling on it very soon (We are 37 weeks and 4 days and counting!)
Why you should cut the selvage off your fabric…
As part of my nursery preparations, I am making drapes for the window.
This is actually my first time making tabbed drapes. I made really simple ones for my daughter’s room a while ago, but thought I would make these a little nicer since I plan on keeping them for a while.
Well as with most things, I was trying to conserve, and figured: “Why should I cut the selvage off my fabric? If I keep it on, it will give me an extra 1/2 inch to work with!”
GENIUS, right?
NO
See below:

THAT is why you should cut the selvage off. Because after all my work of making the curtains, I ended up with writing that showed on the edge! This may not happen as much with heavier fabric, but still!! After woring so hard on something I want it too look great!
So, I took out those side seams, cut off the selvage and re-did it…but still very frustrating.
Well, cup half full: I learned a lesson =)
I’ll show you finished pictures of the drapes once they are up!
