Weekly Photo Challenge: Growth
This week’s photo challenge at the Daily Post is “growth.”
This is an image I took on the side of the road while out for a walk…but the way it is angled up makes me think of little kiddos reaching up to the sky and growing!

Check out some other great entries here!


Jellies
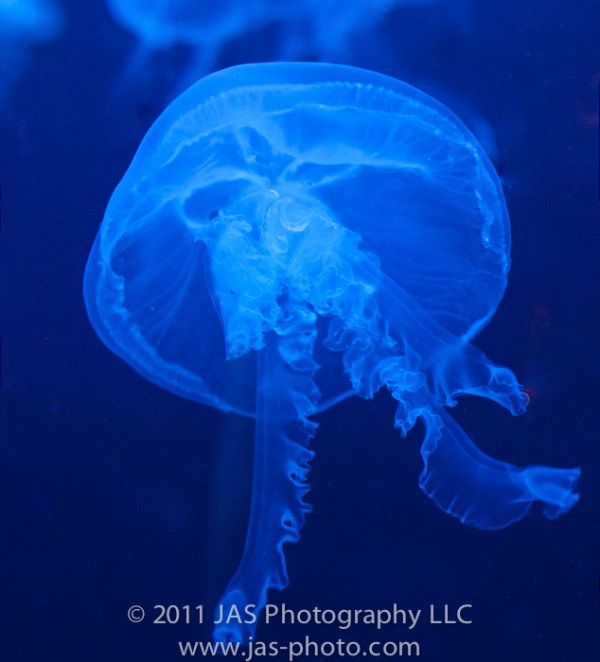
We visited the nearby aquarium for the first time recently, and realy enjoyed it! Here are some cool jellyfish we saw there.
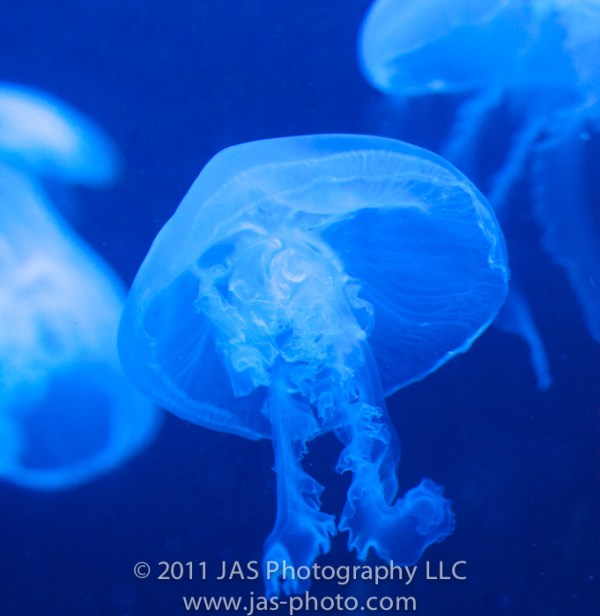
I was mesmerized by the way they look in the black light. They are so beautiful…but also so eerie! They always make me think of the movie “Seven Pounds” – which them makes me sad and depressed =( So maybe I shouldn’t spend too much time looking at jelly fish afterall…
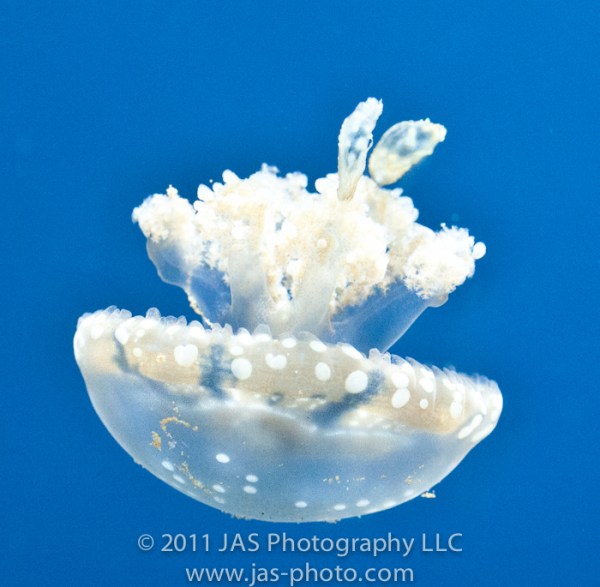
These were particularly cool – they are tiny! About an inch long, and they look like they have dozens of tiny lights in them.
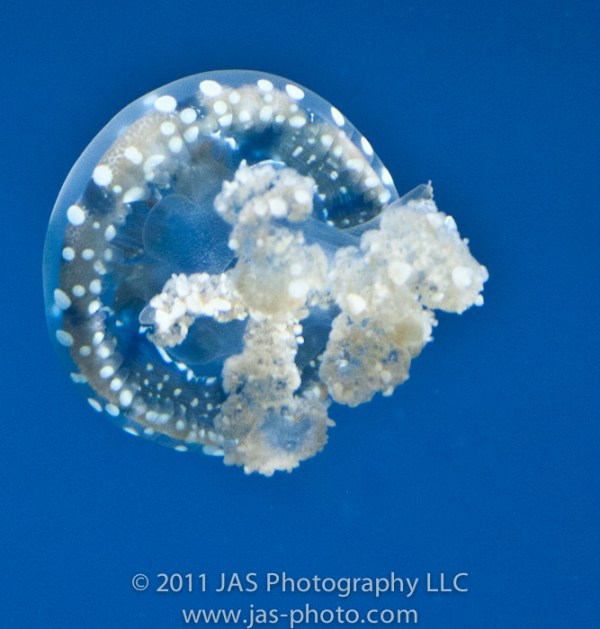
Thanks for stopping by!


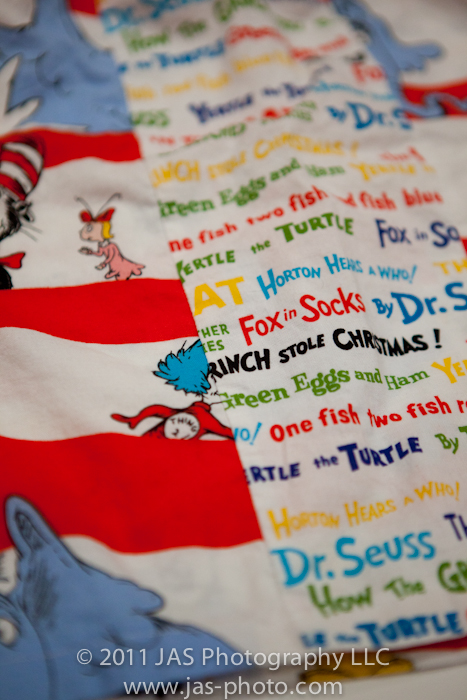
Dr Seuss Shirt!
I recently bought some really fun Dr. Seuss fabric to make some cool surgeon’s caps for L (pictures of those to come!), and had a little bit left over of each. I think it was a little less than 1/4 yard each. So, I decided to make a fun little garment for R!
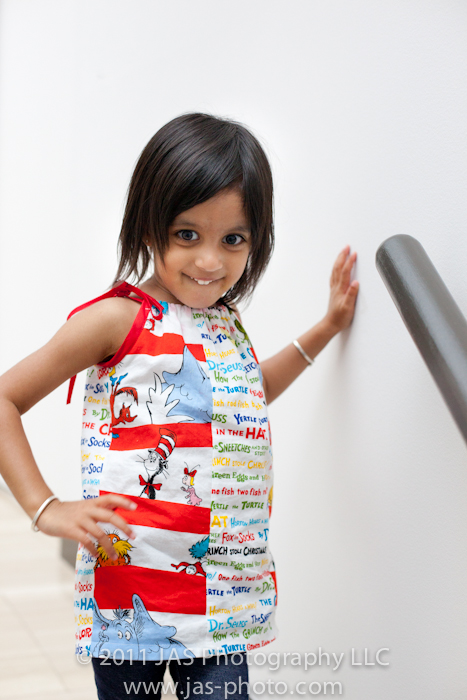
I started off thinking I would make a skirt, but as you can see, it turned into a shirt. Once all the pieces were together, there wasn’t enough fullness to make a good gather. Plus, I like the way this turned out!
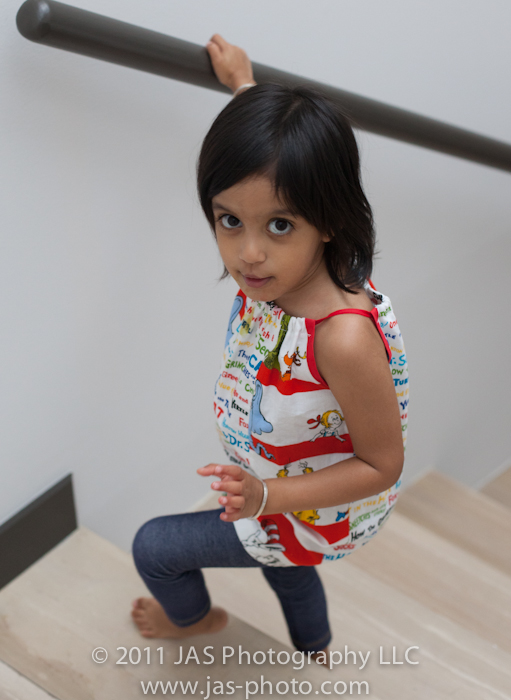
Luckily, so does she!

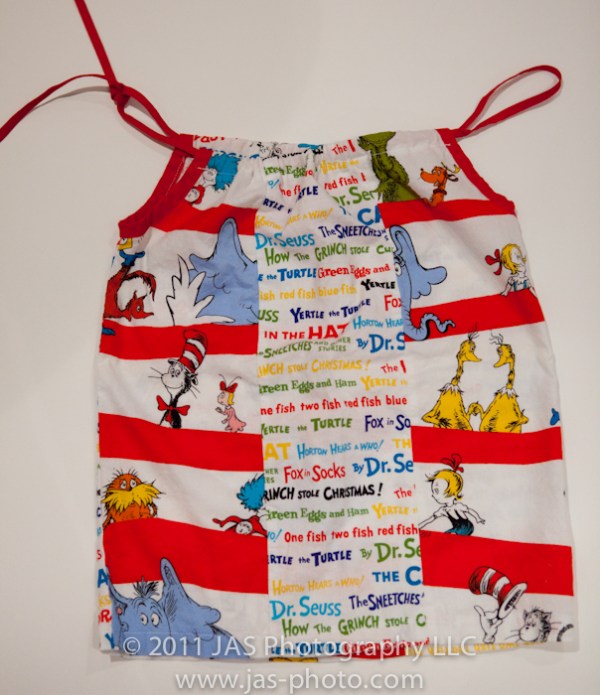
As you can see I kept it pretty simple: I just put the pieces together, cut out arm holes, and then made a casing at the top to put double fold bias tape through. That’s pretty much it! Oh – I also finished the arm holes with bias tape. But that’s really it!
I think it took me about 30 minutes – definitely worth it!
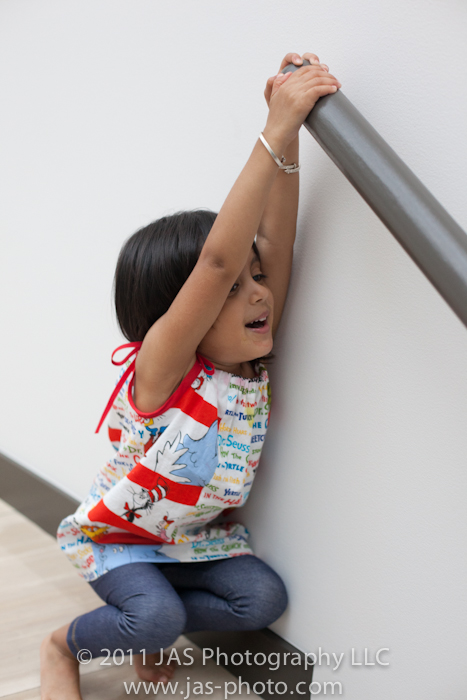
I think the impromptu things I have made make me the happiest! It is so gratifying! Actually I take that back – watching R pick the shirt out to wear and over definitely makes me even happier!
Hooray for Seuss!
Mystery Monday…and I’m Back!
I can’t believe it has been 6 weeks since I have written a post! It is amazing what having a baby, going to an Indian wedding, travelling to Florida, going back to work after maternity leave and starting kitchen renovations will do to you! Every evening I have “big plans” of what I want to do, but every evening I am EXHAUSTED and can’t seem to do anything but veg out and pump (barely!).
BUT…I’m excited to share a new idea I came up with:
MYSTERY MONDAY
I love taking abstract pictures of every day objects and seeing what I get. Thanks to a new found love affair with Instagram, I have discovered it can be fun to see what kinds of things people think of when seeing these abstract pictures!
So, I have decided to create a new series, as noted: Mystery Monday. Each week (hopefully!) I will post a picture of a commonplace item and see if anyone can guess what it is. Keep in mind, “commonplace” could be something that is seasonal at the time!
There are two ways you can participate:
1) Leave a comment below with your guess of what the object is in today’s picture
and
2) Make your own Mystery Monday post and link back here!
Please spread the word and have fun!


Here are a couple other “mystery pictures” you may have seen if you follow me on Facebook or instagram:
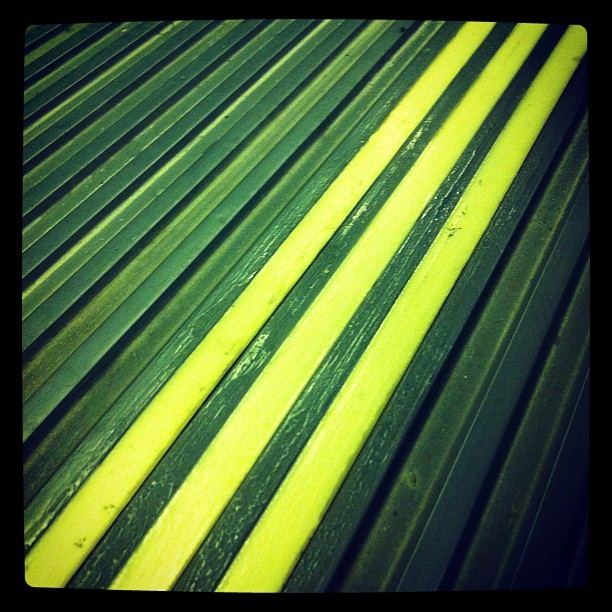
The center aisle of the subway train
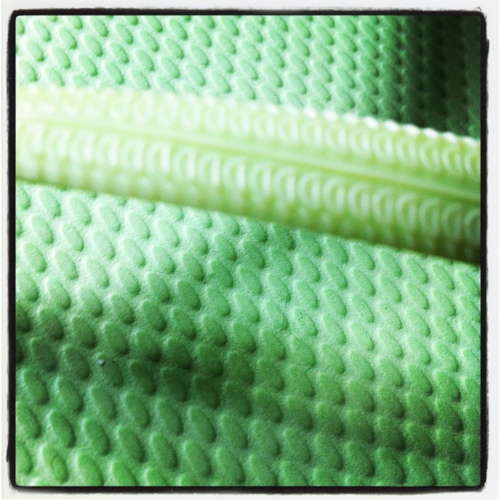
A flip flop

My jeans
If you are reading this on Facebook, and if you can, please take a moment to open this post in your web browser and leave a comment here of what you think the picture is of. If you don’t have time then no worries – Facebook comments work for me too!
Weekly Photo Challenge: Hands
This is one of my favorite pictures from one of my first photography sessions (I guess I should say “paid” photography sessions):

This was an engagement photo session and I feel like his hands really show tenderness in this picture!
T-shirt to toddler dress…in 30 minutes!
I finally had a chance to do my first post partum sewing project: a toddler dress made from an XL t-shirt I bought on clearance at Old Navy (gotta love those sales! The t-shirt cost <$4!)
I started off with one plan…and thanks to my lack of planning, I ended up with something different. But I still like it!
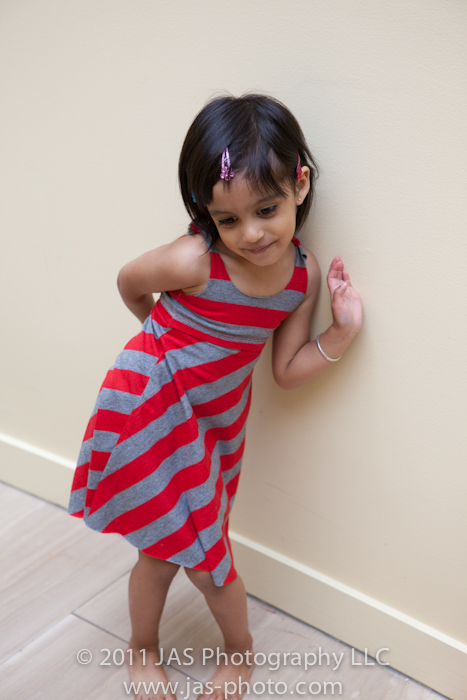
I wanted to make a 2 piece dress – one front piece and on back, with a shirred center to give it shape. However, when I cut out my design, I realized I folded the fabric in the wrong place, and made it WAY to skinny on top. So there was no way the top of the dress would have fit even my skinny minny! So I made the “top” of the dress the waist, and spent about 30 minutes trying to figure out how to salvage a top from what I had left of the fabric. Then I realized the sleeves were my biggest pieces left. Sooooo…I used the sleeves to make the top! You can’t really tell in the pictures but I used the existing hem of the sleeve and let that show on the outside of the dress. I just attached it to the bottom pieces that I cut out.

When I cut the top of the dress, I cut straps and just used them to tie the top of the dress closed. This way it is easier to get on and off without actually making a button or zipped opening.

And as you may be able to see, I didn’t finish the edges. Since it is knit, it won’t fray. It is curling a little at the edges, but I like the raw look! Not to mention, the actual sewing time took all of about 15 minutes! It was awesome!
And, the dress is GREAT for dancing:
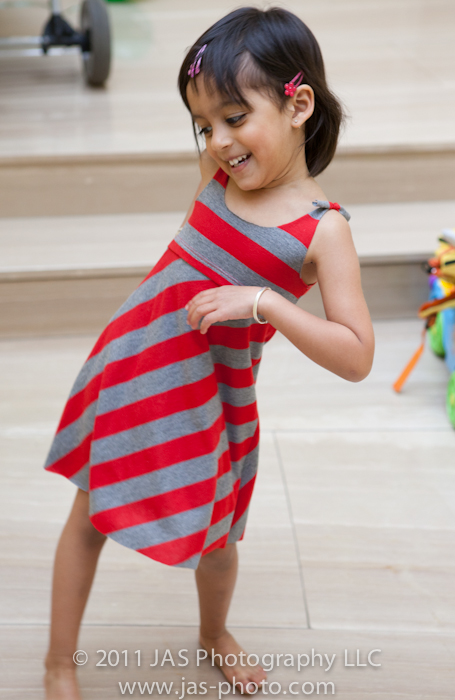
jumping…

spinning…

running…

and plain ol’ being silly!

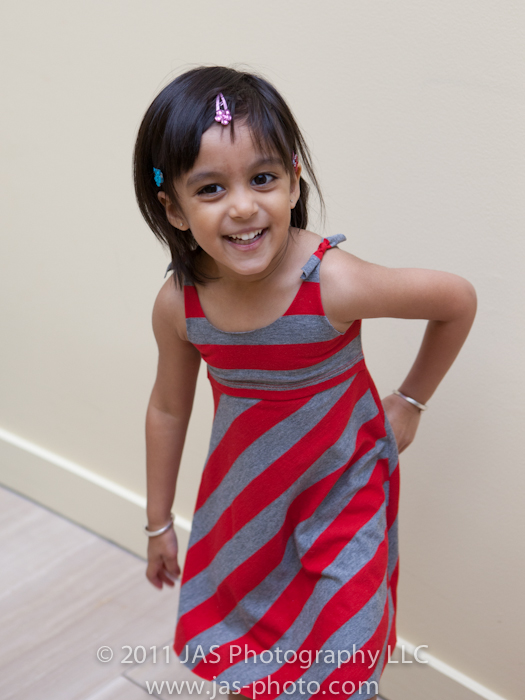
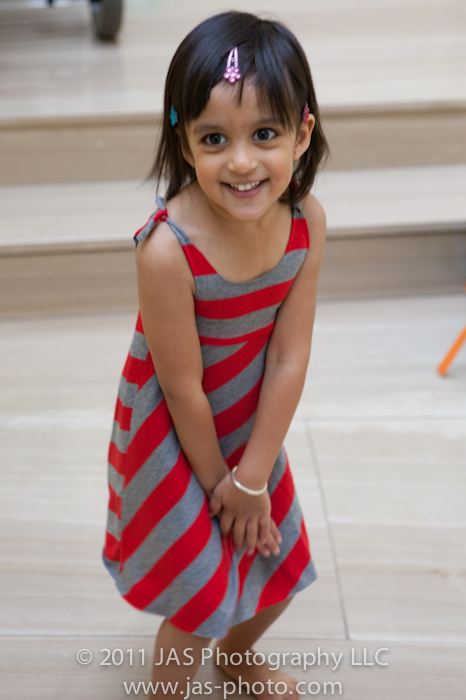
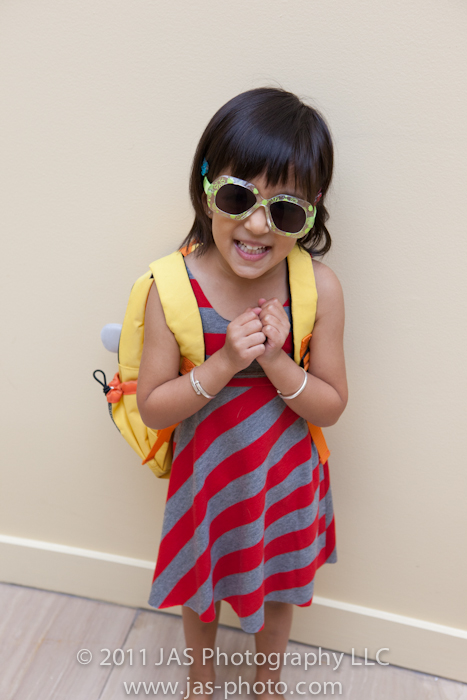
and going to school!
I Heart Faces Photo Challenge: C
For this month’s photo challenge at IHeartFaces: The Letter C, I submitted one of my favorite pictures of L and R ever!

I think what I love most about it is that it shows how close they are, and it highlights the best part of their relationship: crazyiness! L has waited almost 3 years for R to get close to him and not be attached to my hip all the time. So when I see them like this, enjoying each other’s company (L rarely smiles this big for the camera except when he is with her) – it makes me SOOO happy!
=D
Wow – two kiddos is kicking my butt! And that is WITH help from my mother-in-law!
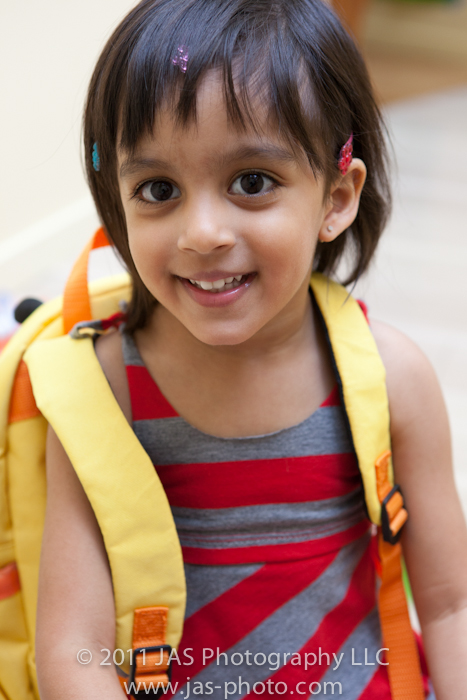
I have been experimenting with ways to capture good pictures of my daughter given that she avoids the camera like the plague. Some kids love taking pics and posing…not this one. She LOVES showing me the back of her head…and the top of it…and the top of her eyelids…

But lately I have been trying “shooting from the hip.” Or actually, shooting from the “thigh.” I put the camera down by my leg, and engage her in something (usually chasing her or letting her chase me) and then shoot away while we play.

This of course results in quite a few garbage pictures…

But as you can see, I also end up with a at least a few great ones!

These are all from this afternoon. She was in the mood to chase me, so I ran away from her, taking pictures behind me.

The key is to make sure she is not focusing on the fact that I am taking her picture! Then I actually get real smiles and views of her FACE!

How do you actually get things in focus, you ask?

These are the settings I use:
1) I use a higher ISO than usual so that the pictures can handle some movement. Basically, you want a faster shutter speed. If you have a “sports” setting on your camera, you could use that.
2) I make sure the focus point selection is set to all. I.e. the camera will focus on the first thing it sees that hits it’s focus points. Usually I keep my camera set to focus only on the middle focus point – but that doesn’t work for this method of shooting since I’m not aiming by looking through the view finder. It takes practice to aim the camera just with your hands and still get your subject matter in the frame, but you definitely get better the more you do!
3) I keep the focus mode on “AI Servo” – I’m not sure what the equivalent is in Nikon (I use canon) – but basically that means “continuous focus.” Again, this is different than my normal practice which is to keep the camera set to focus once and lock that setting. I do this so I can focus on something and re-compose the picture without losing my desired focus point. However, since I’m usually moving while taking these pictures (as is my subject) it is better to keep it on continuous focus. Actually no…it is ESSENTIAL! to keep it on continuous focus! =D

Well hope that helps and gives you something new to try.

Have fun!
