Note: I have added NEW PDF versions of some of the files where you can edit the text (for example the invitation. Coming soon: editable favor bag labels, cupcake toppers and more)!
Also, please add pictures of your elmo party to my photo group on flickr: http://www.flickr.com/groups/1854236@N22/
WELCOME to my elmo party idea page!
Enjoy!
And if you are looking for a Little Einstein’s Party Page with lots of free downloads, click here!

For R’s second birthday party, I did an Elmo themed party, since she, like most kids, is on love with the little red monster.
I spent a TON of time researching and going to many different stores to find all the perfect yet inexpensive products for the party, as well as making many customizable products to give the party that extra special touch!
In this blog post you will find all sorts of ideas for decorations, cakes, cupcakes, personalized party favors and more with TONS of free downloads to make your own party! If you have other ideas for Elmo parties, please share them or post pictures on my flickr group and let us know in the comments!

Decorations:
I bought most of my decorations from the dollar store, where you can find TONS of cute stuff – from banners, to cupcake stands, to all kinds of other things you can hang on the walls. Add some elmo balloons and you are set!

I bought a zillion of these Elmo balloons from the DOLLAR store! Yes, the dollar store! They were awesome, and they actually lasted for weeks! Since they were only a dollar, i literally bought about 20 and put them up all over the house.

I bought this elmo basket from Target – can’t remember how much it was, but it wasn’t bad – I think around $10.

Perfect for holding cute elmo candies!
…and for halloween too!

These are the labels I made to wrap around little candy bars. I specifically sized these to Hershey Miniature candy bars.
Click on each image, then right click and save the larger image that comes up. Or click here to download a PDF of these ready to print onto letter size label paper. Then cut them out and wrap around your bars!
 |
 |
What party would be complete without your themed paper products! I personally went to about 4-5 different stores to get the best but least expensive paper products, and ultimately came up with these:

Cups: The dollar store
Plates and Napkins: Party City (I just didn’t like the ones at the dollar store as much)
Streamers and hats: Party City
Note: To save on the number of these I had to buy, I also bought plain red and yellow plates, napkins and all my utensils from dollar store. It ends up being significantly cheaper than buying them from Party City or Target!
Sesame Street Juice Boxes


I found these really cute juice boxes for the party which work great! You can buy small packs at wholefoods, but I found a big multi pack at BJs! There were (and still are) a hit!
Cake and Cupcakes!

I hadn’t intended on going so overboard with this whole party…but once I got started, I couldn’t help myself!
So, for the cake, I took inspiration from a good friend of mine who is AWESOME at making and decorating cakes, and thought I would try my hand at it. This is the first time I’ve made a cake other than a simple round or square cake, and definitely the first time I’ve ever decorated. So hopefully that will give you confidence – it really wasn’t that bad! I bought my baking supplies mainly from Michaels – with a couple of things that I found in larger bulk from Walmart.
For the CAKE:
1) Buy the mix (I used German chocolate cake by betty crocker) or make it form scratch
2) Buy a cake pan – I bought the cake pan from Michaels as well. You will need shortening to coat the pan as well
3) You need supplies for icing. There are tons available for this. I bought most of it from Michaels again – i bought the bags, and the tips – I think I just bought 1 tip – the star, and used that for everything. I also bought a spatula to spread the icing.
4) You need icing and color. I bought large bottles of cream cheese icing form walmart as well as the red icing color from there. I would buy 2 bottles of icing color, because you need to add a lot to get the red color – otherwise it will just look pink. I also bought ready to use orange icing for the nose, and black icing decoration for the eyes.
5) Melt-able chocolate candy (also in the cake section) for the mouth.
Once you have everything, you make the cake mix, prepare the cake pan as instructed, and bake your cake. I turned it over onto a cutting board with aluminum foil. There were pieces that broke, like the nose, but I just placed it back on, and it was fine once I put the icing on. Then you start decorating!
I first tried to use a spatula to cover the cake with icing, thinking it would be faster, but it was a disaster. Little cake crumbs got all mixed in with the icing and I had to start over. SO I switched to using the icing bag and star tip, and made the little dollops to cover the whole cake, and it worked like a charm! The only different thing I did was make concentric circles instead of dollops for the nose – just to make it look a little bit different.

For the mouth, you just melt the chocolate in the microwave as directed, and then I poured it into the mouth opening. Then when you do the red icing for the face, you overlap the edges of the mouth to cover it up (I wish I had pictures to show you! But I wasn’t blogging back then, so wasn’t thinking of taking pix!).
As far as order, I would do eyes, then mouth, then red face, then orange nose.
For the CUPCAKES:
I used red velvet mix to give the non-chocolate eaters an options. I made cupcakes just like you usually do, then ultimately used the spatula to top them with icing. Below you can see all the different renditions I came up with. I made some with spirals using the star tip with the icing topper, and some with the spatula – i found the spatula to be faster. I experimented with different products for the eyes and nose, and ultimately settled on marshmallows for the eyes, and a third of a candied orange slice for the nose. Then I used black, glittery icing decoration for the pupils and the mouth. They were a hit!

BROWNIE BITES:
I made some totally peanut/nut free options for some friends, and used regular brownie mix (my favorite is Duncan Hines Family Style made with pasteurized egg whites, and cooked at a slightly lower temperature than recommended and for significantly less time). I used a baking pan that had 1 inch squares and poured the batter in there. Then I used a spatula to spread white icing on the tops and then used ready made elmo cupcake toppers to decorate them!

You can find lots of different cupcake liners and toppers at Michaels and AC Moore.
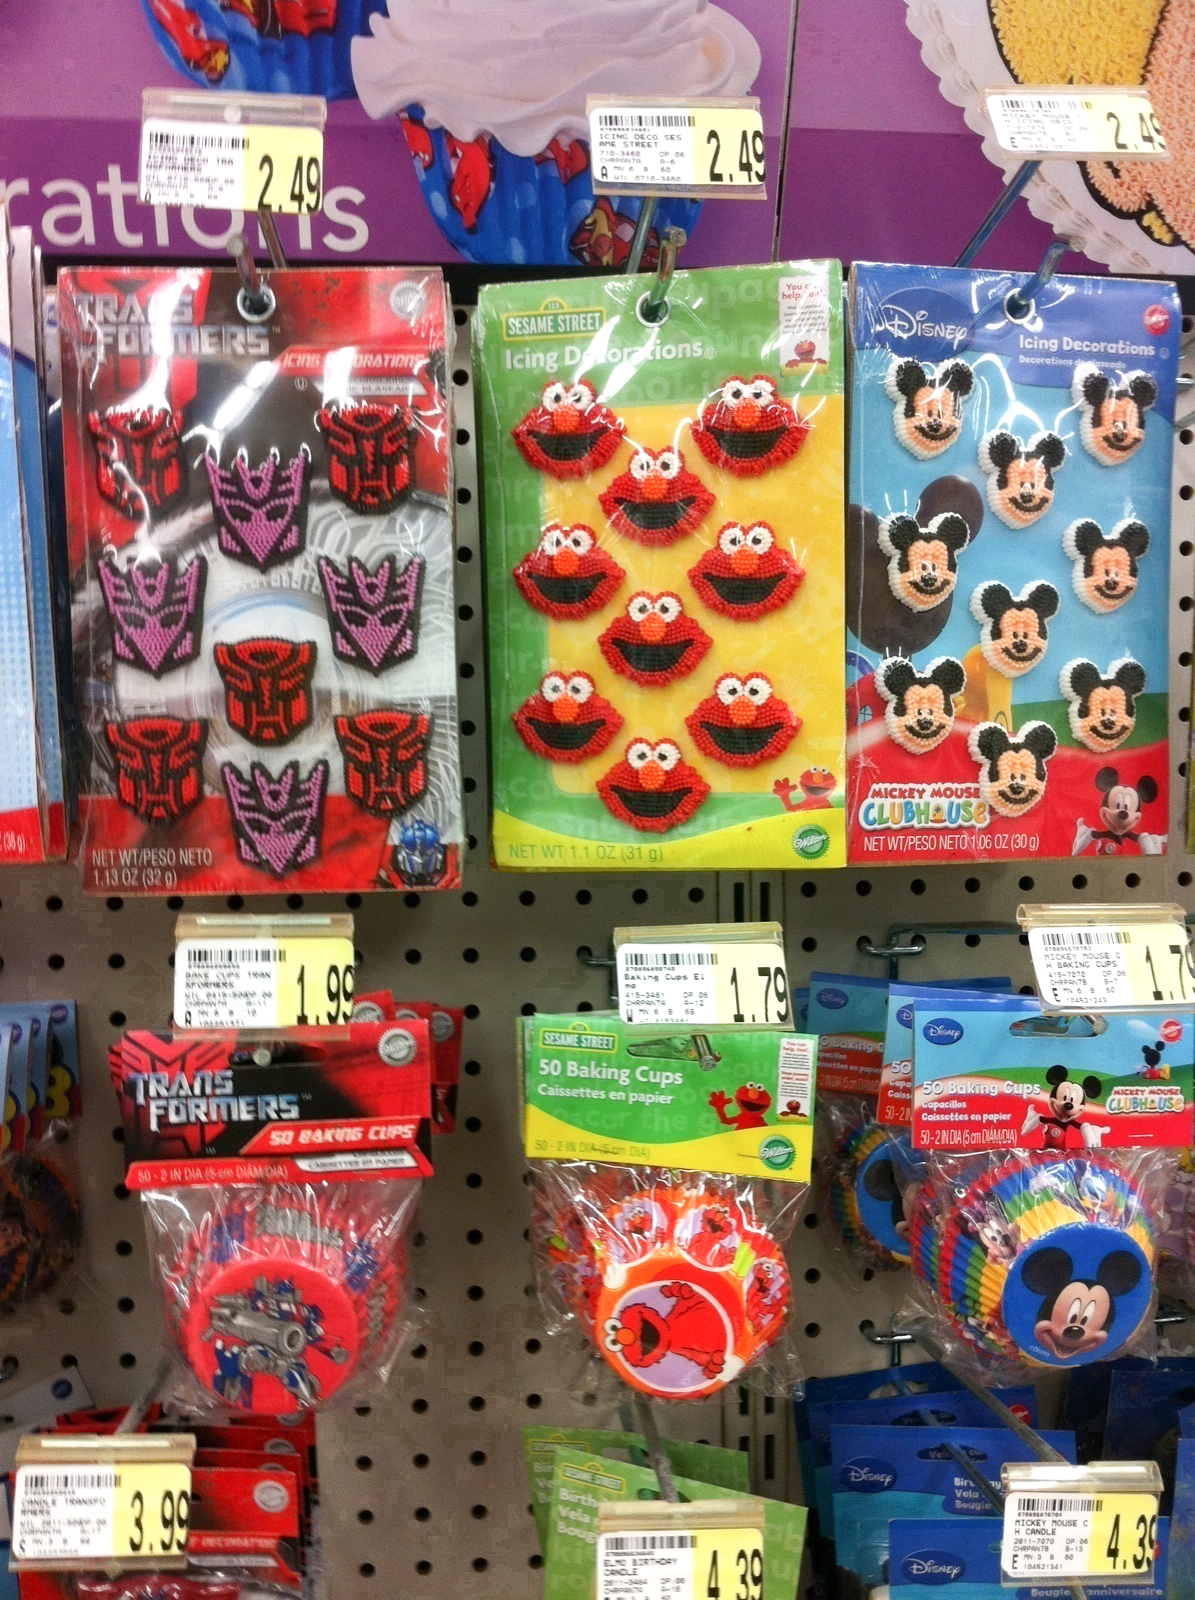
Elmo cupcake toppers and liners available at michaels and ac moore. The baking pan for the elmo cake is available at those stores as well.
Many people have been looking for elmo cupcake toppers, so I figured I’d make some for you!

They are 1 inch circles, red with elmo’s face. Print them on an 8.5 x 11 page or LABEL paper (you can buy this at any office supply store, or buy in bulk from planetlabel.com), and then use a 1 inch circle or scalloped circle punch to punch out your toppers. Then stick a toothpick to the back of one sticker, and put another sticker behind it. And viola! You have your very own DIY Elmo cupcake topper! Yay!

Invitations & Return Address Labels
I spent quite a bit of time making these invitations – hopefully you can benefit from it as wel!
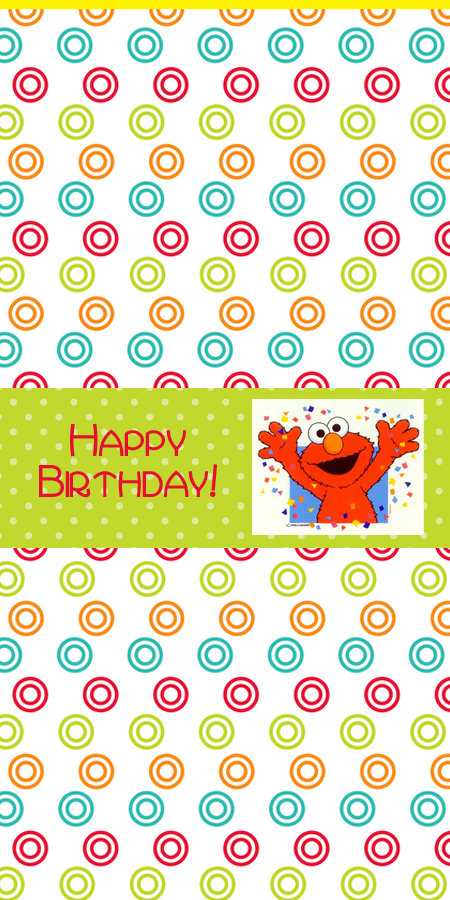
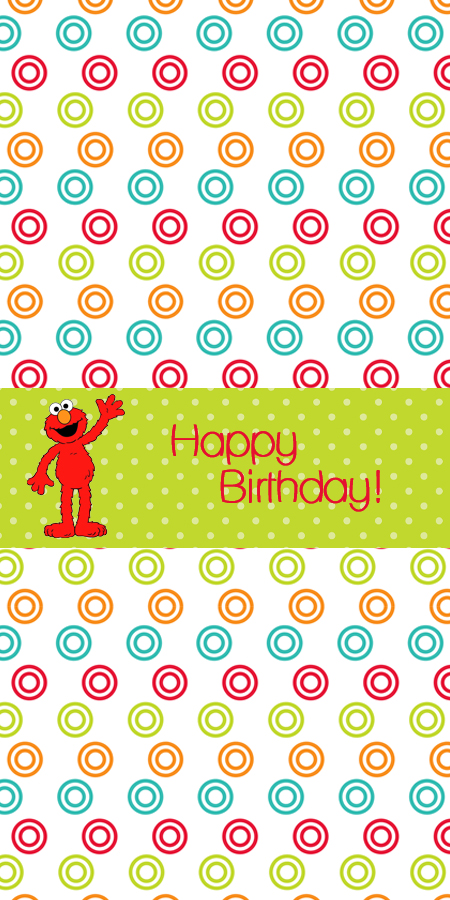
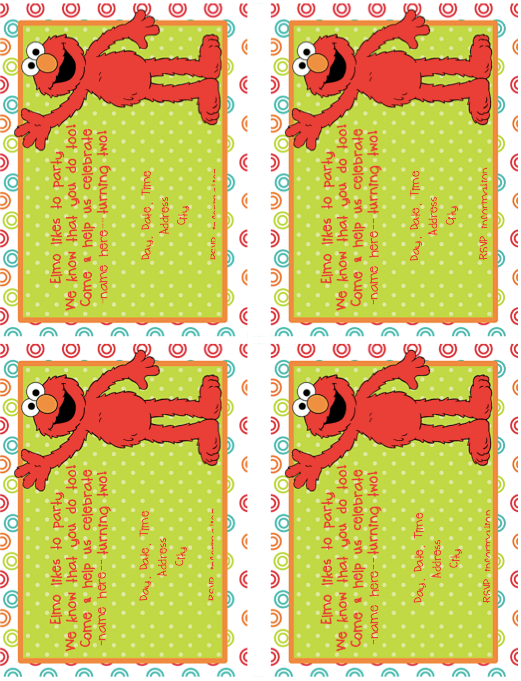
You can download the invitation and fill in your child’s name and age – either using photoshop or word, and then print them on a letter size paper – 4 to a page. There is blank space also to add the date, time, location and RSVP info to the invitation.
The font I used is “teenage angst”

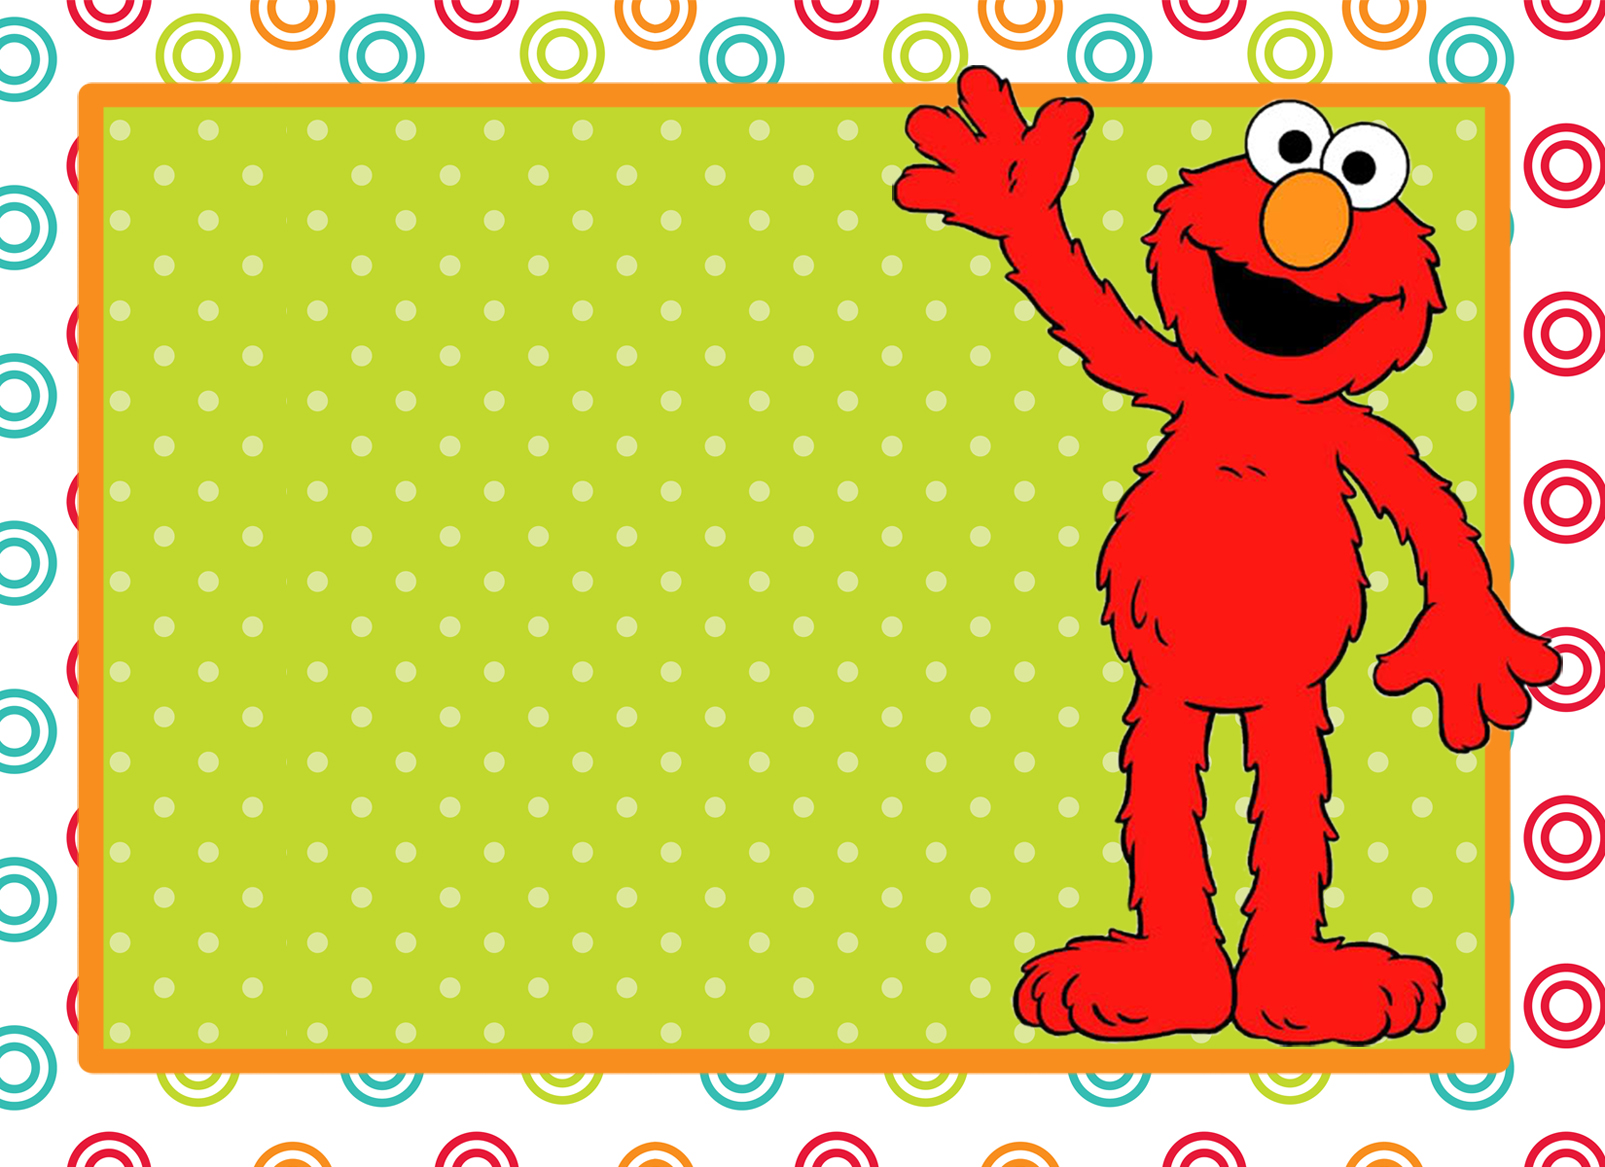
Click on this image to get a larger version of it, then right click and save it to make your own elmo party invitations. You can add the date, time and location as well as other details to the invitation in the blank space on the bottom.
Here is a version of the invitation without the lines (click on the image first, THEN right-click and save):

NEW (added 4/17/2013):
Here is a PDF of the invitation that has editable fields in it, so you can customize your elmo invitation to your party!
NEW (added 4/17/2013):
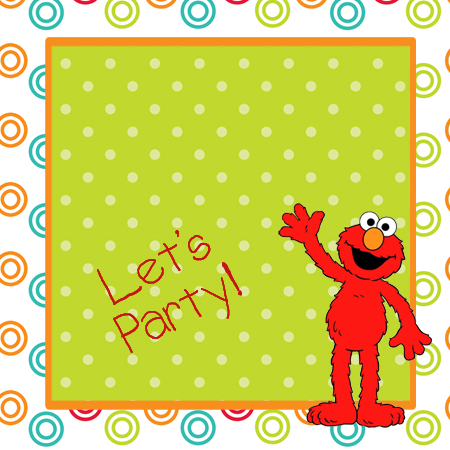
And a completely blank invitation (right click to save the image and then add whatever text you would like):
And the same blank invitation with 4 on a page:
A tip for all the printing mentioned here:
You can print all of these items either on your own printer at home, or you could get them printed at a local office store such as FedEx Office or Staples. The bulk of the cost usually comes from the cutting, so you could invest $25 in a paper cutter and cut everything yourself (that’s what I did!).
Personalized Elmo Return Address Labels or other All Purpose Sticker
Click on this image to get the full resolution version, then right click and save it to make a personalized return address label for your birthday boy or girl that can be used on invitations and thank you notes. You can also use this as a general all purpose sticker to label food and other items at the party! Just make sure to print it onto label paper if you want to use it for stickers. At 2×2, you should be able to arrange the stickers so that you can print 20 per letter size page.
Elmo Party Activity #1: Build Your Own Elmo!
Sadly I can’t remember where I got this idea from, but I made a “Build Your Own Elmo” activity for the party.

I basically made pieces of elmo out of construction paper, and put them, along with 2 googly eyes, a nose and fasteners into a party bag for each kid. Then at the party I laid out a sheet, gave each kid a bag, and put out tons of foam stickers and let everyone go to town!

Most fasteners I found were the regular old silver or gold circles. But for a little more money, you can find all sorts of cute flowers and colored circles etc in the scrap booking section of AC Moore or Michaels! Just remember that the fasteners are a choking hazard for younger kids. So depending on how old your kids are at the party, you may want to put the fasteners in their own plastic bag (that’s what i did) and make sure that a parent is with each child when they make these. And most importantly, make sure the parents are aware of the choking hazard so they can keep a close eye on the kids!

I found the googly eyes in multi-size packs at the dollar store. I just had to buy 3 packs so I would have enough of the large ones for each child. For the noses, I used a 1.5 inch scalloped circle paper punch with orange cardstock to cut out noses.

Then I added a small sticky foam square to the back of each that the guests could simple remove the backing from and stick onto elmo!

Here are a couple of beautiful Elmos that were created at the party!


You can download the printable build your elmo pattern that you see below.
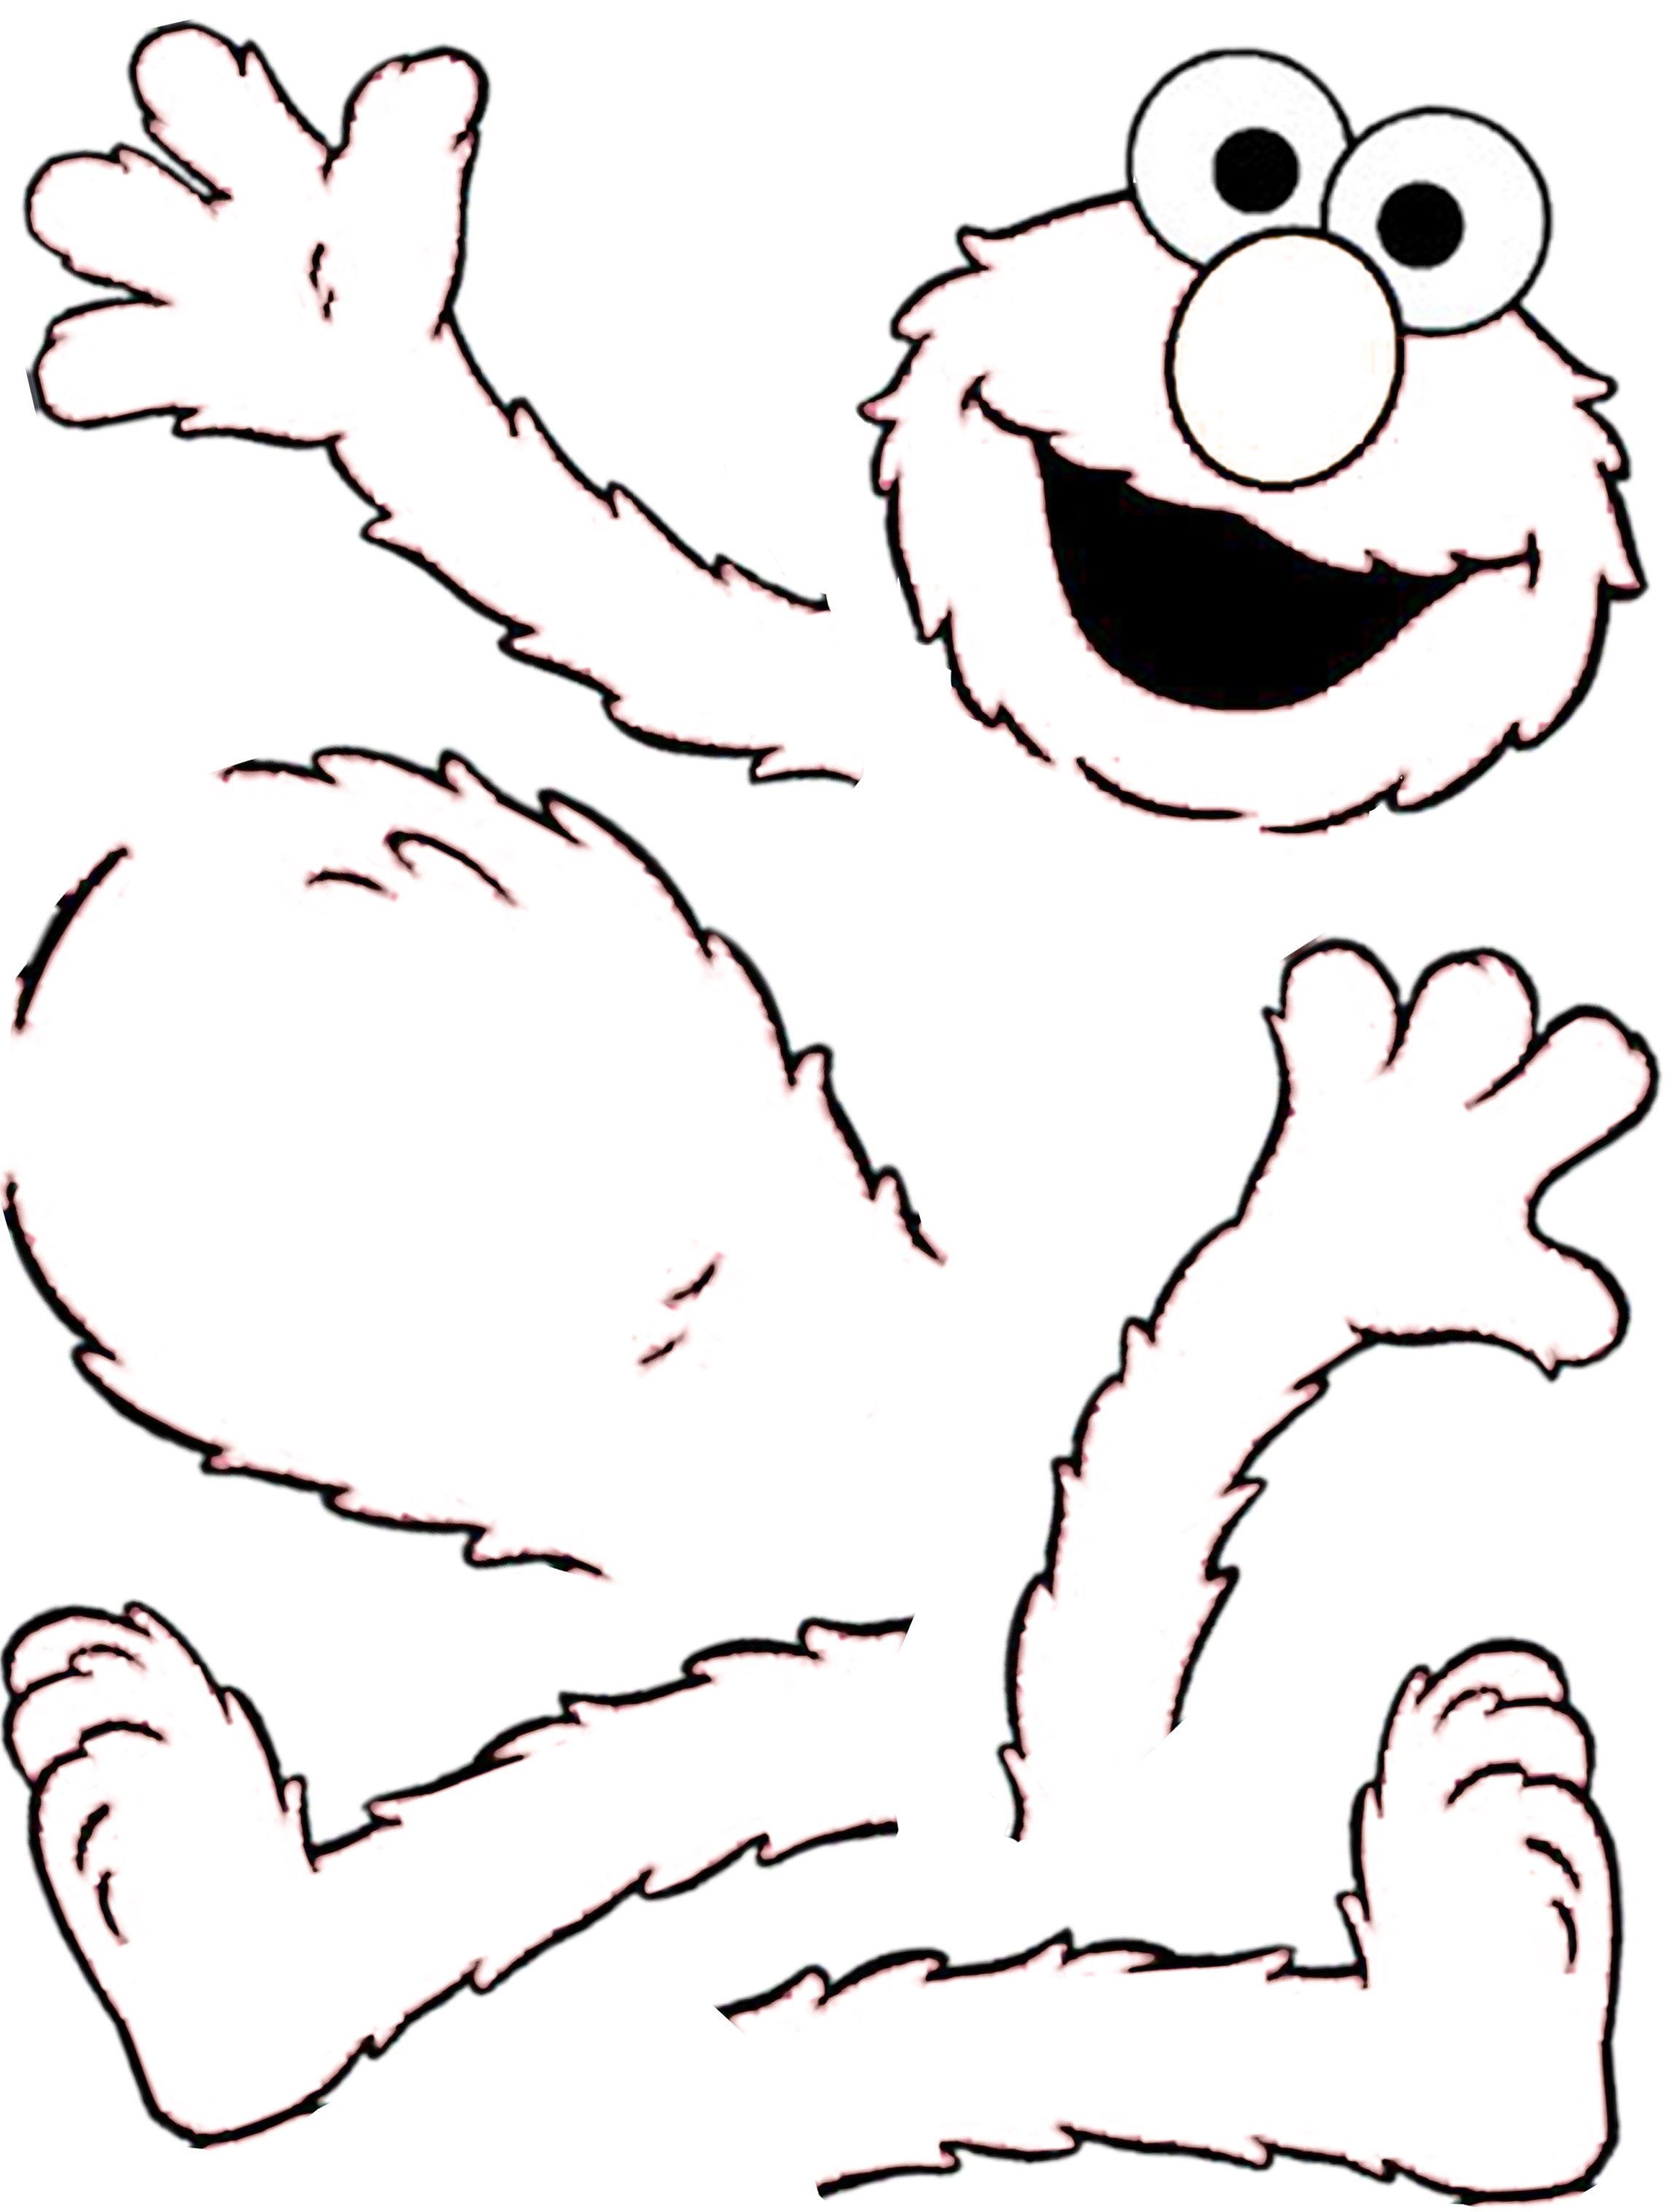
Click on this image to get a larger version of it, then right click and save that version. You can then print the image on a letter size paper, roughly cut out the pieces, and use for the build your own elmo activity described above! I printed this onto red construction paper (which required manually feeding each sheet) – but white paper would work just as well, and then the kids can color them too!
Elmo Party Activity #2: Pin the nose on Elmo!
On a big red poster board, I drew this elmo (i know, not perfect, but it works!) and then added the eyes using regular paper and construction paper.

Lastly, I made the noses. I used orange foam because that’s what I had, but I would just use orange card stock if I were doing it again. I used a 3 inch scalloped circle paper punch to cut out the noses, and then attached a medium sized square double sided sticky foam to the back of each one. Then the kids were able to just take one, peel off the backing and pin the nose on Elmo! Depending on how old your kids are, you may or may not want to spin them around first with a blindfold on. =)


Elmo & Big Bird Party Favor Bags & Labels

I bought regular red and yellow gift bags from the dollar store, and then put these big bird and elmo face stickers on them for a special touch.

As far as what to put in them, here’s what I did:
1) A personalized elmo coloring book (see below)
2) Small box of crayons – you can buy packs of 40 from Party City – also available at Walmart
3) Elmo stickers – The Dollar Store
3) Cute animal snack cups with gummy fruit inside – both from The Dollar Store or Deals (another type of dollar store)

Personalized Elmo Coloring Book for your party gift bags!
Below you will find the front and back covers that I made for the coloring books, which you can personalize. As well as a PDF of all the coloring book pages that I collected to include inside!

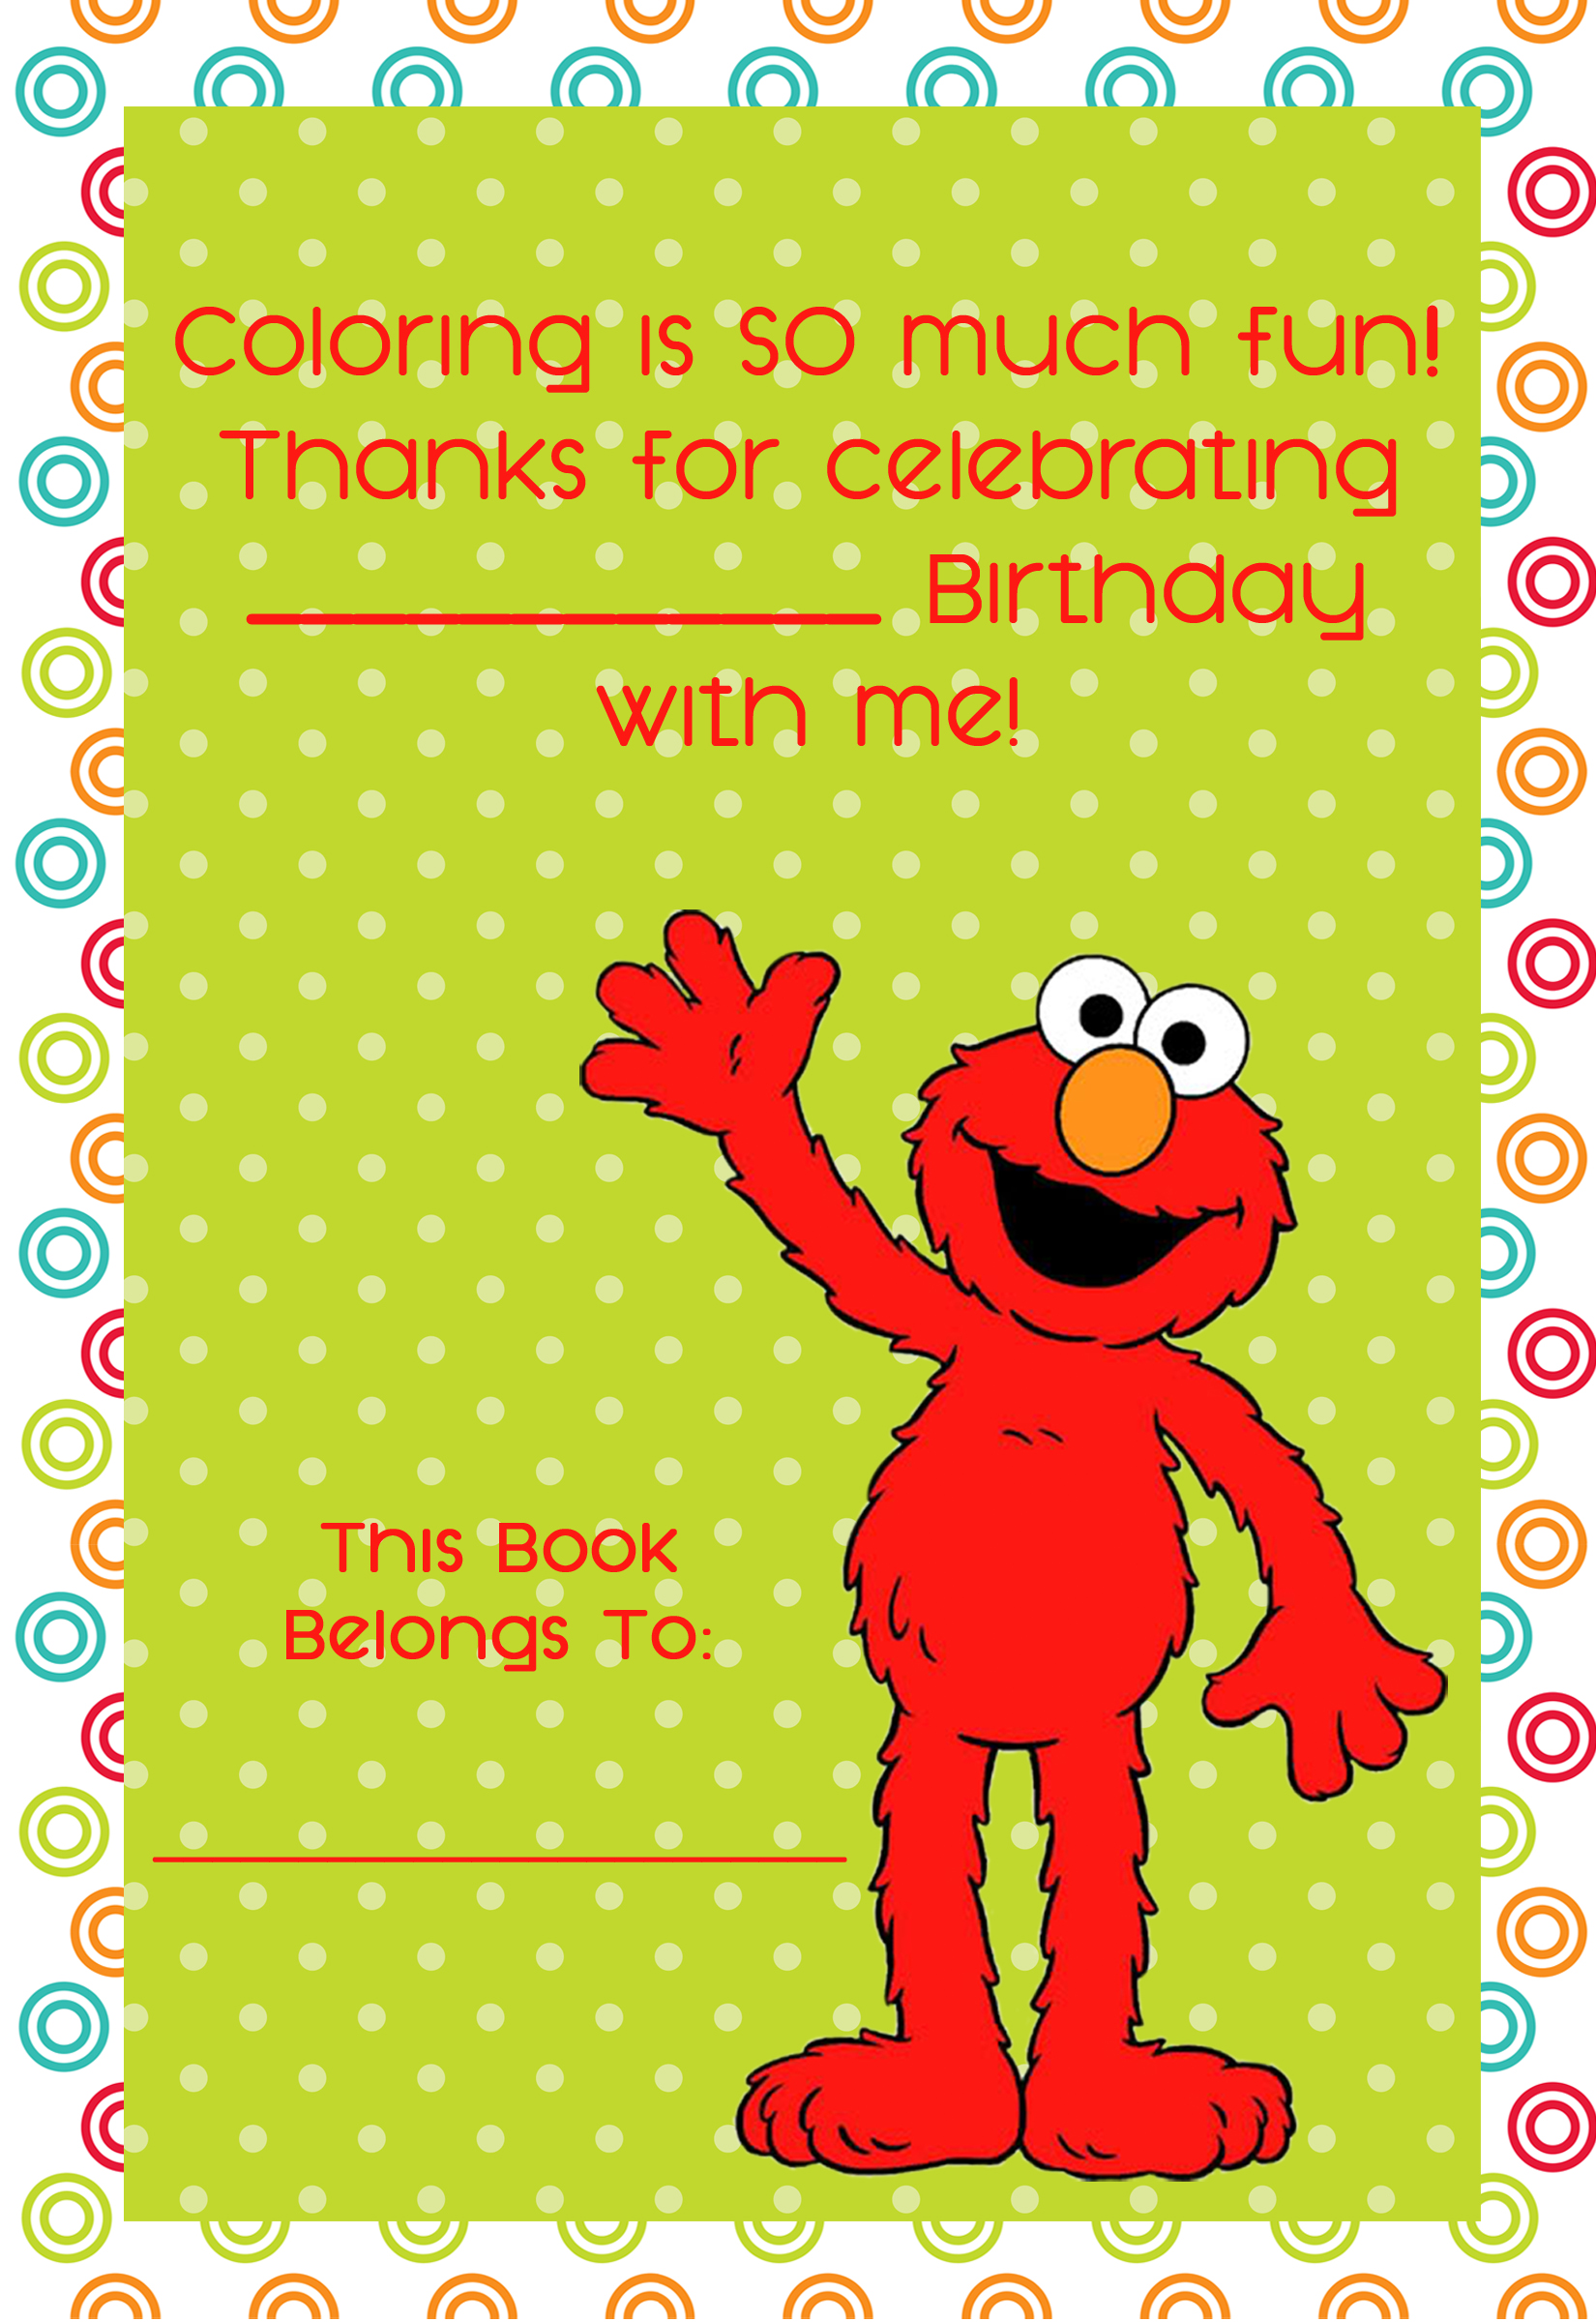
- This is the front cover of the coloring book. It is meant to be print along with the back image (next one down) on one letter size paper that you can put around your coloring book and then staple down the middle.

- This is the back cover of the coloring book. As I wrote above, print this on the same page as the front cover on a letter size sheet of paper.
Here is the coloring book outer cover with the front and back put together. You just need to personalize the names!

Print this image on a letter size sheet of paper for the full front and back cover of a personalized coloring book. For this link, do NOT right click and save the image. Instead, click on it and you can download the PDF.
Coloring book pages:

Click on this image to download a PDF to print 16 pages of elmo coloring book pages. These should be printed double sided on letter size paper. Once they are printed, put the cover page on top, and fold the entire thing in half. Then you can either stable down the middle or put a ribbon down the middle.
The following labels can be printed and put on red or yellow gift bags, respectively, to make cute Elmo and big bird party favor bags like I show above!
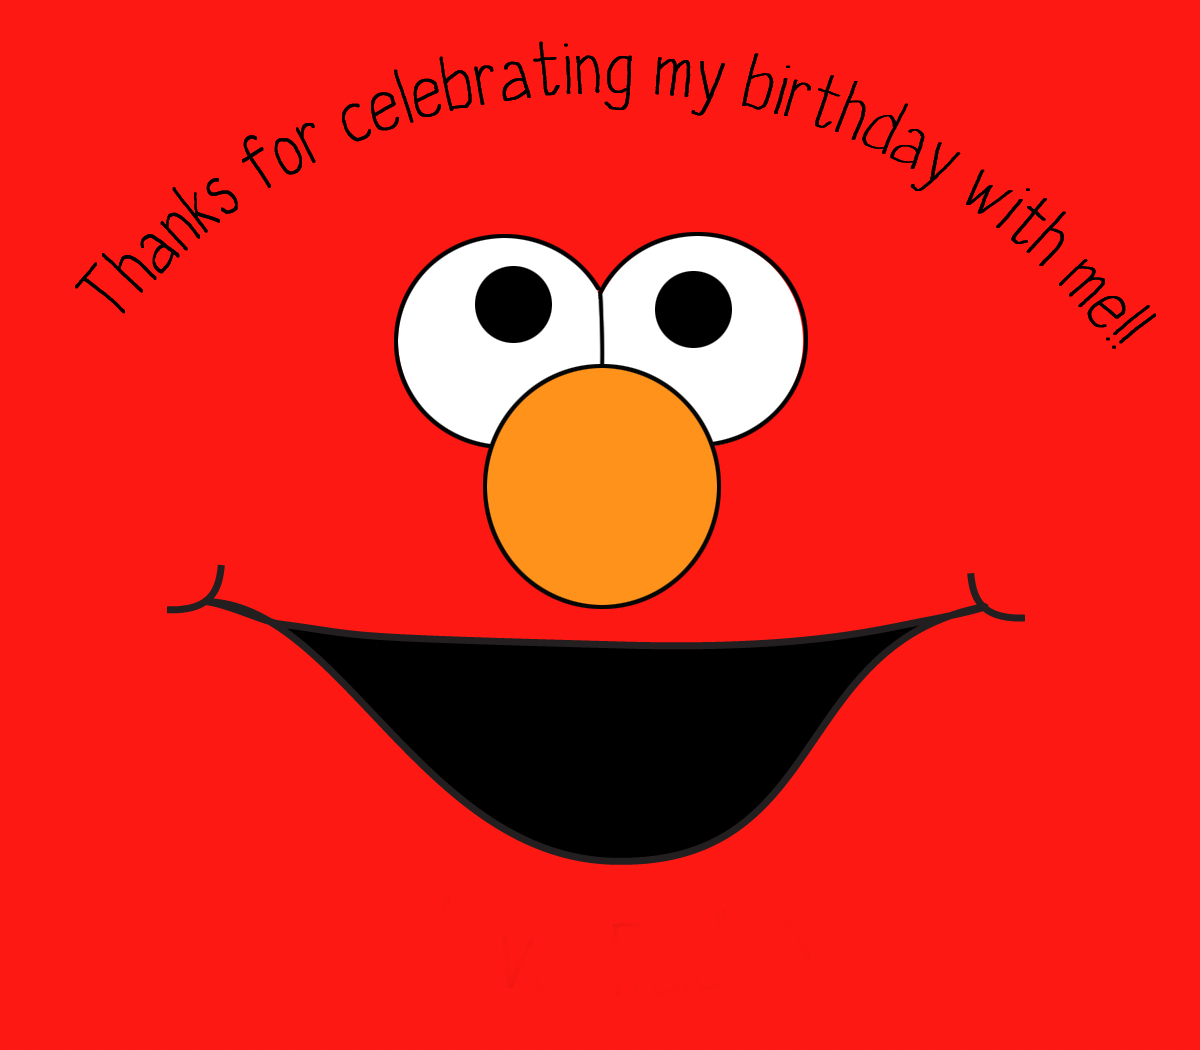
This one is personalizable
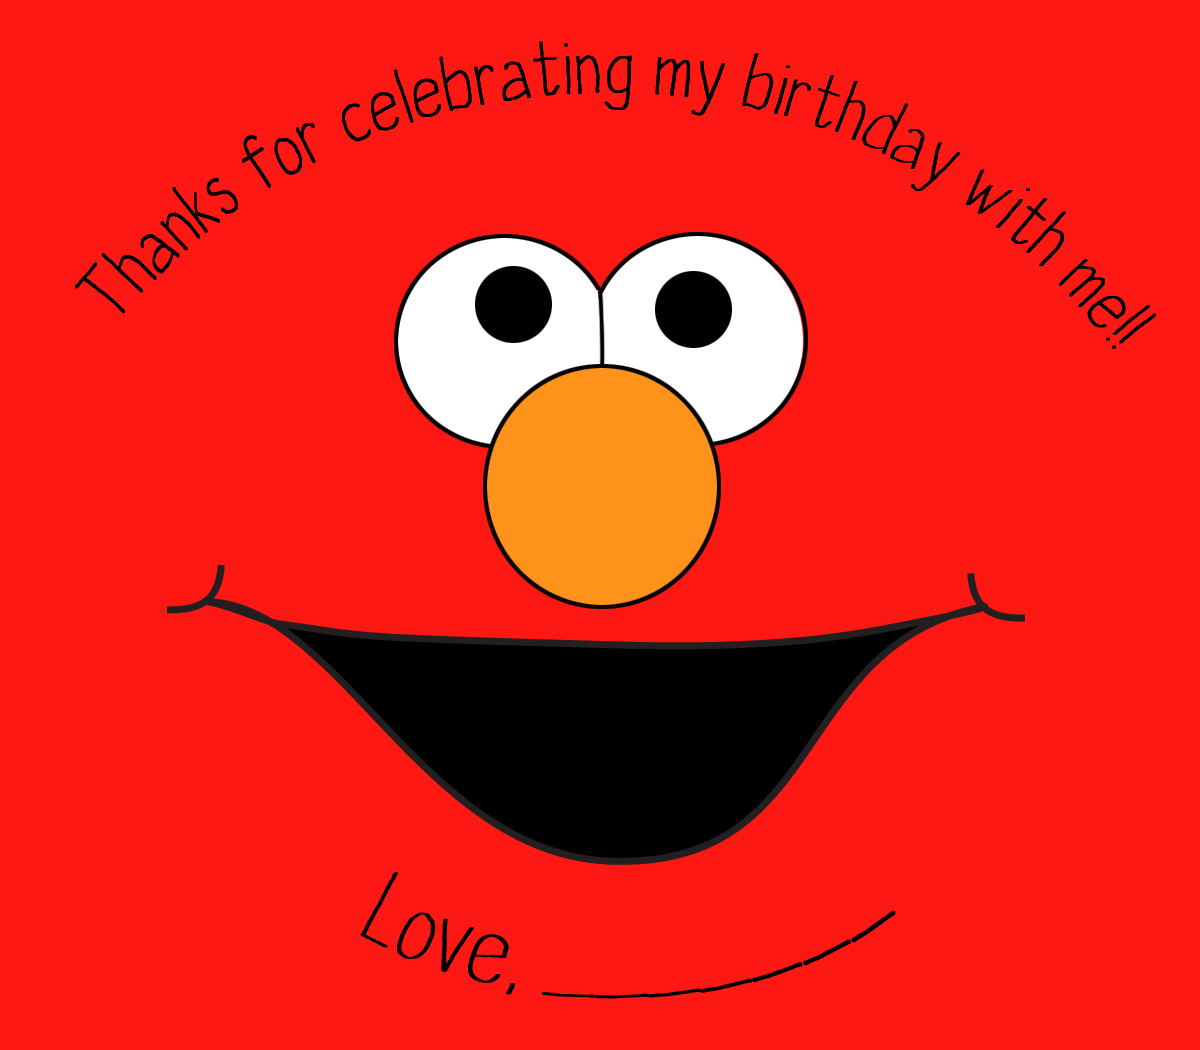

Here are links for full page PDFs of these stickers that are ready to print. Click on the image below, and then you can download a PDF that can be printed on a letter size sheet of paper.

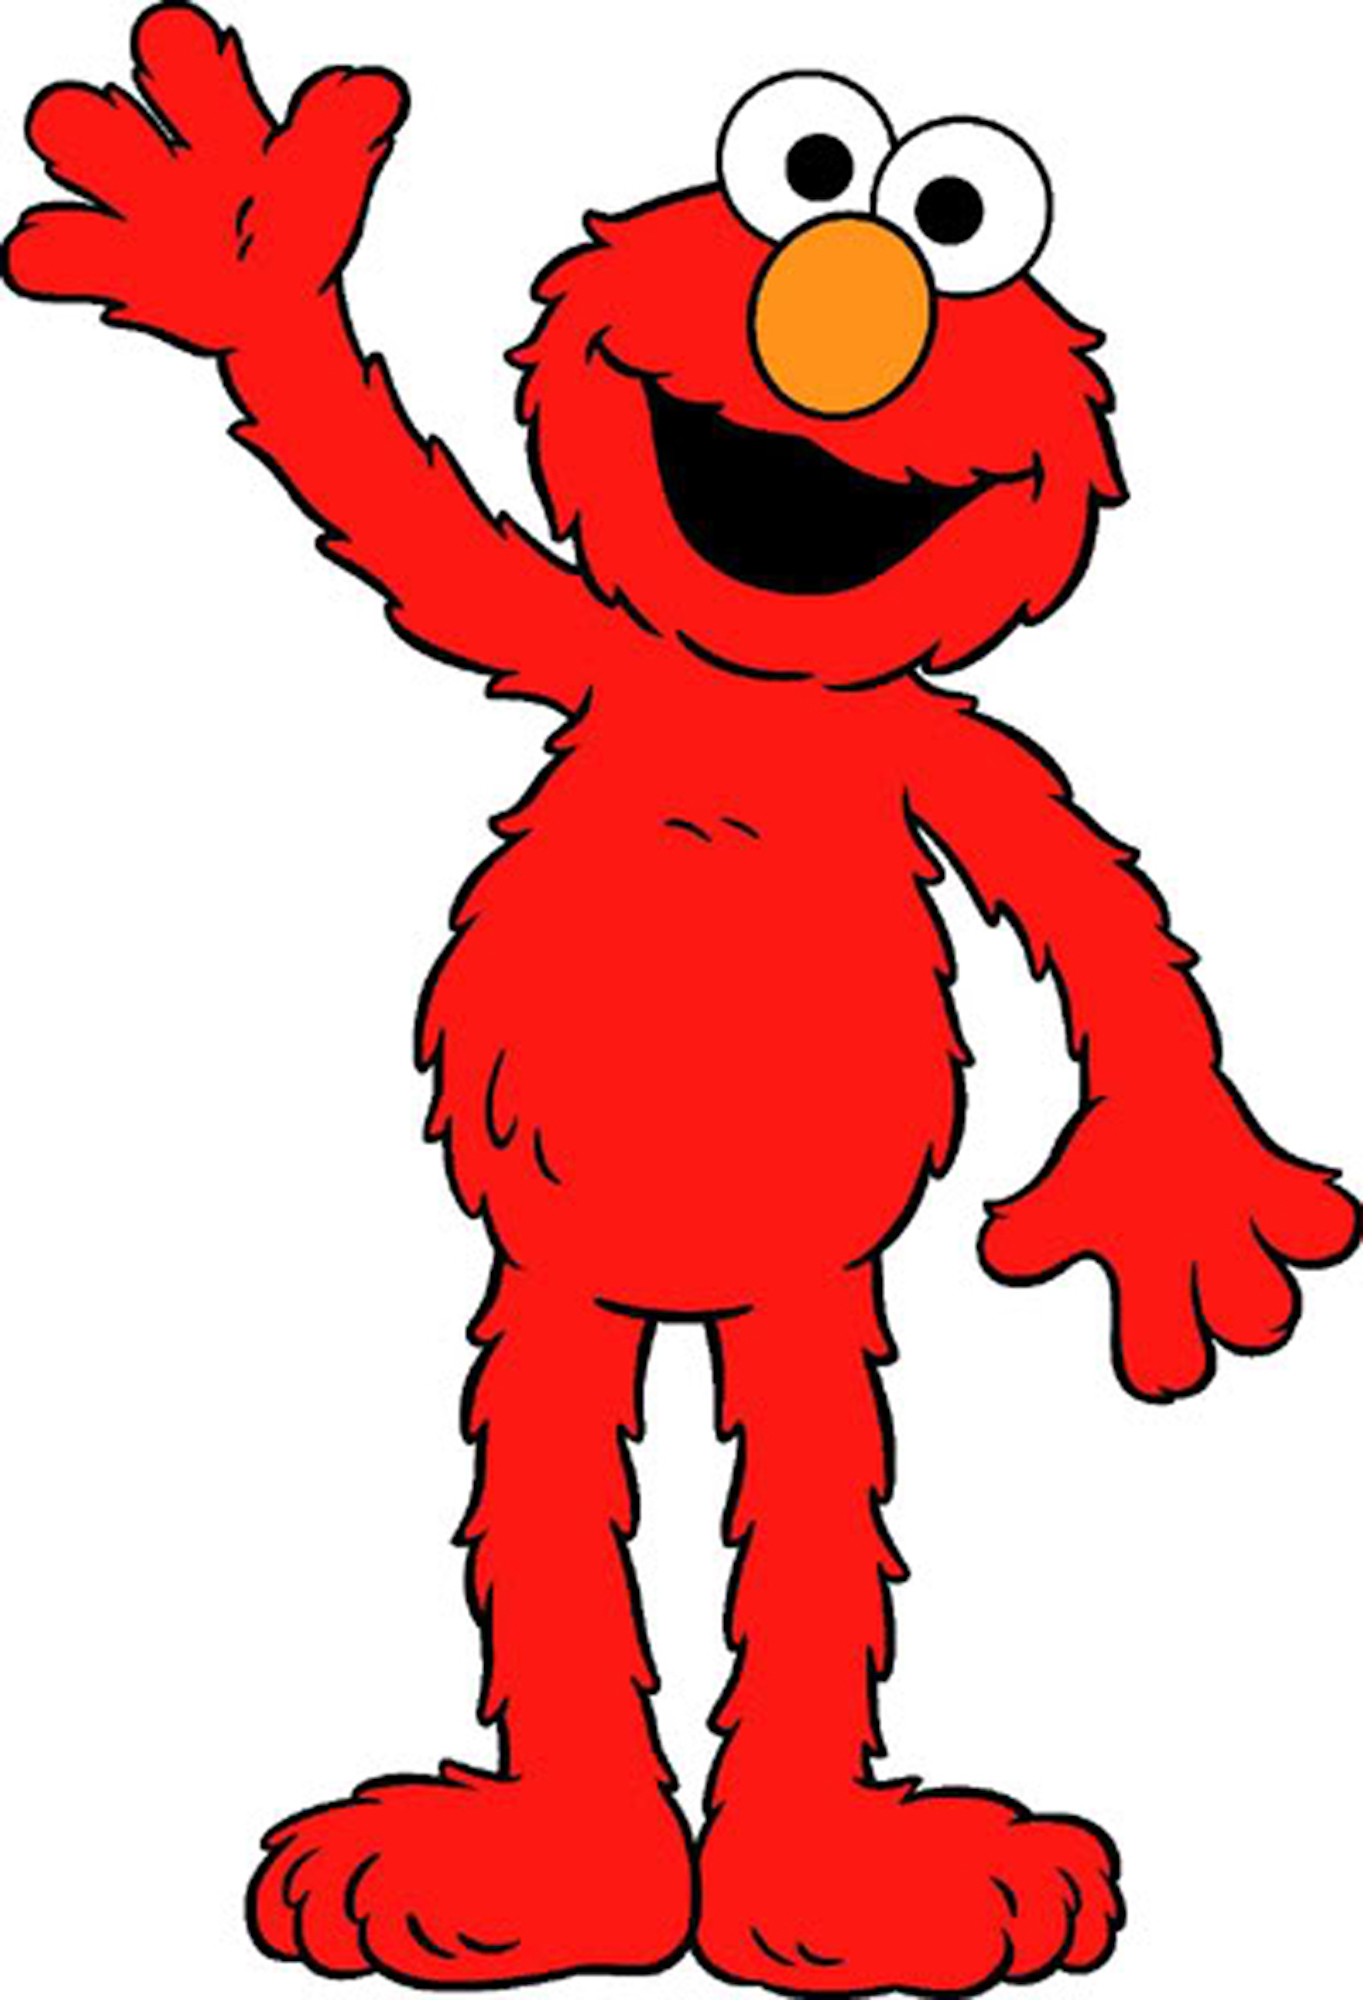
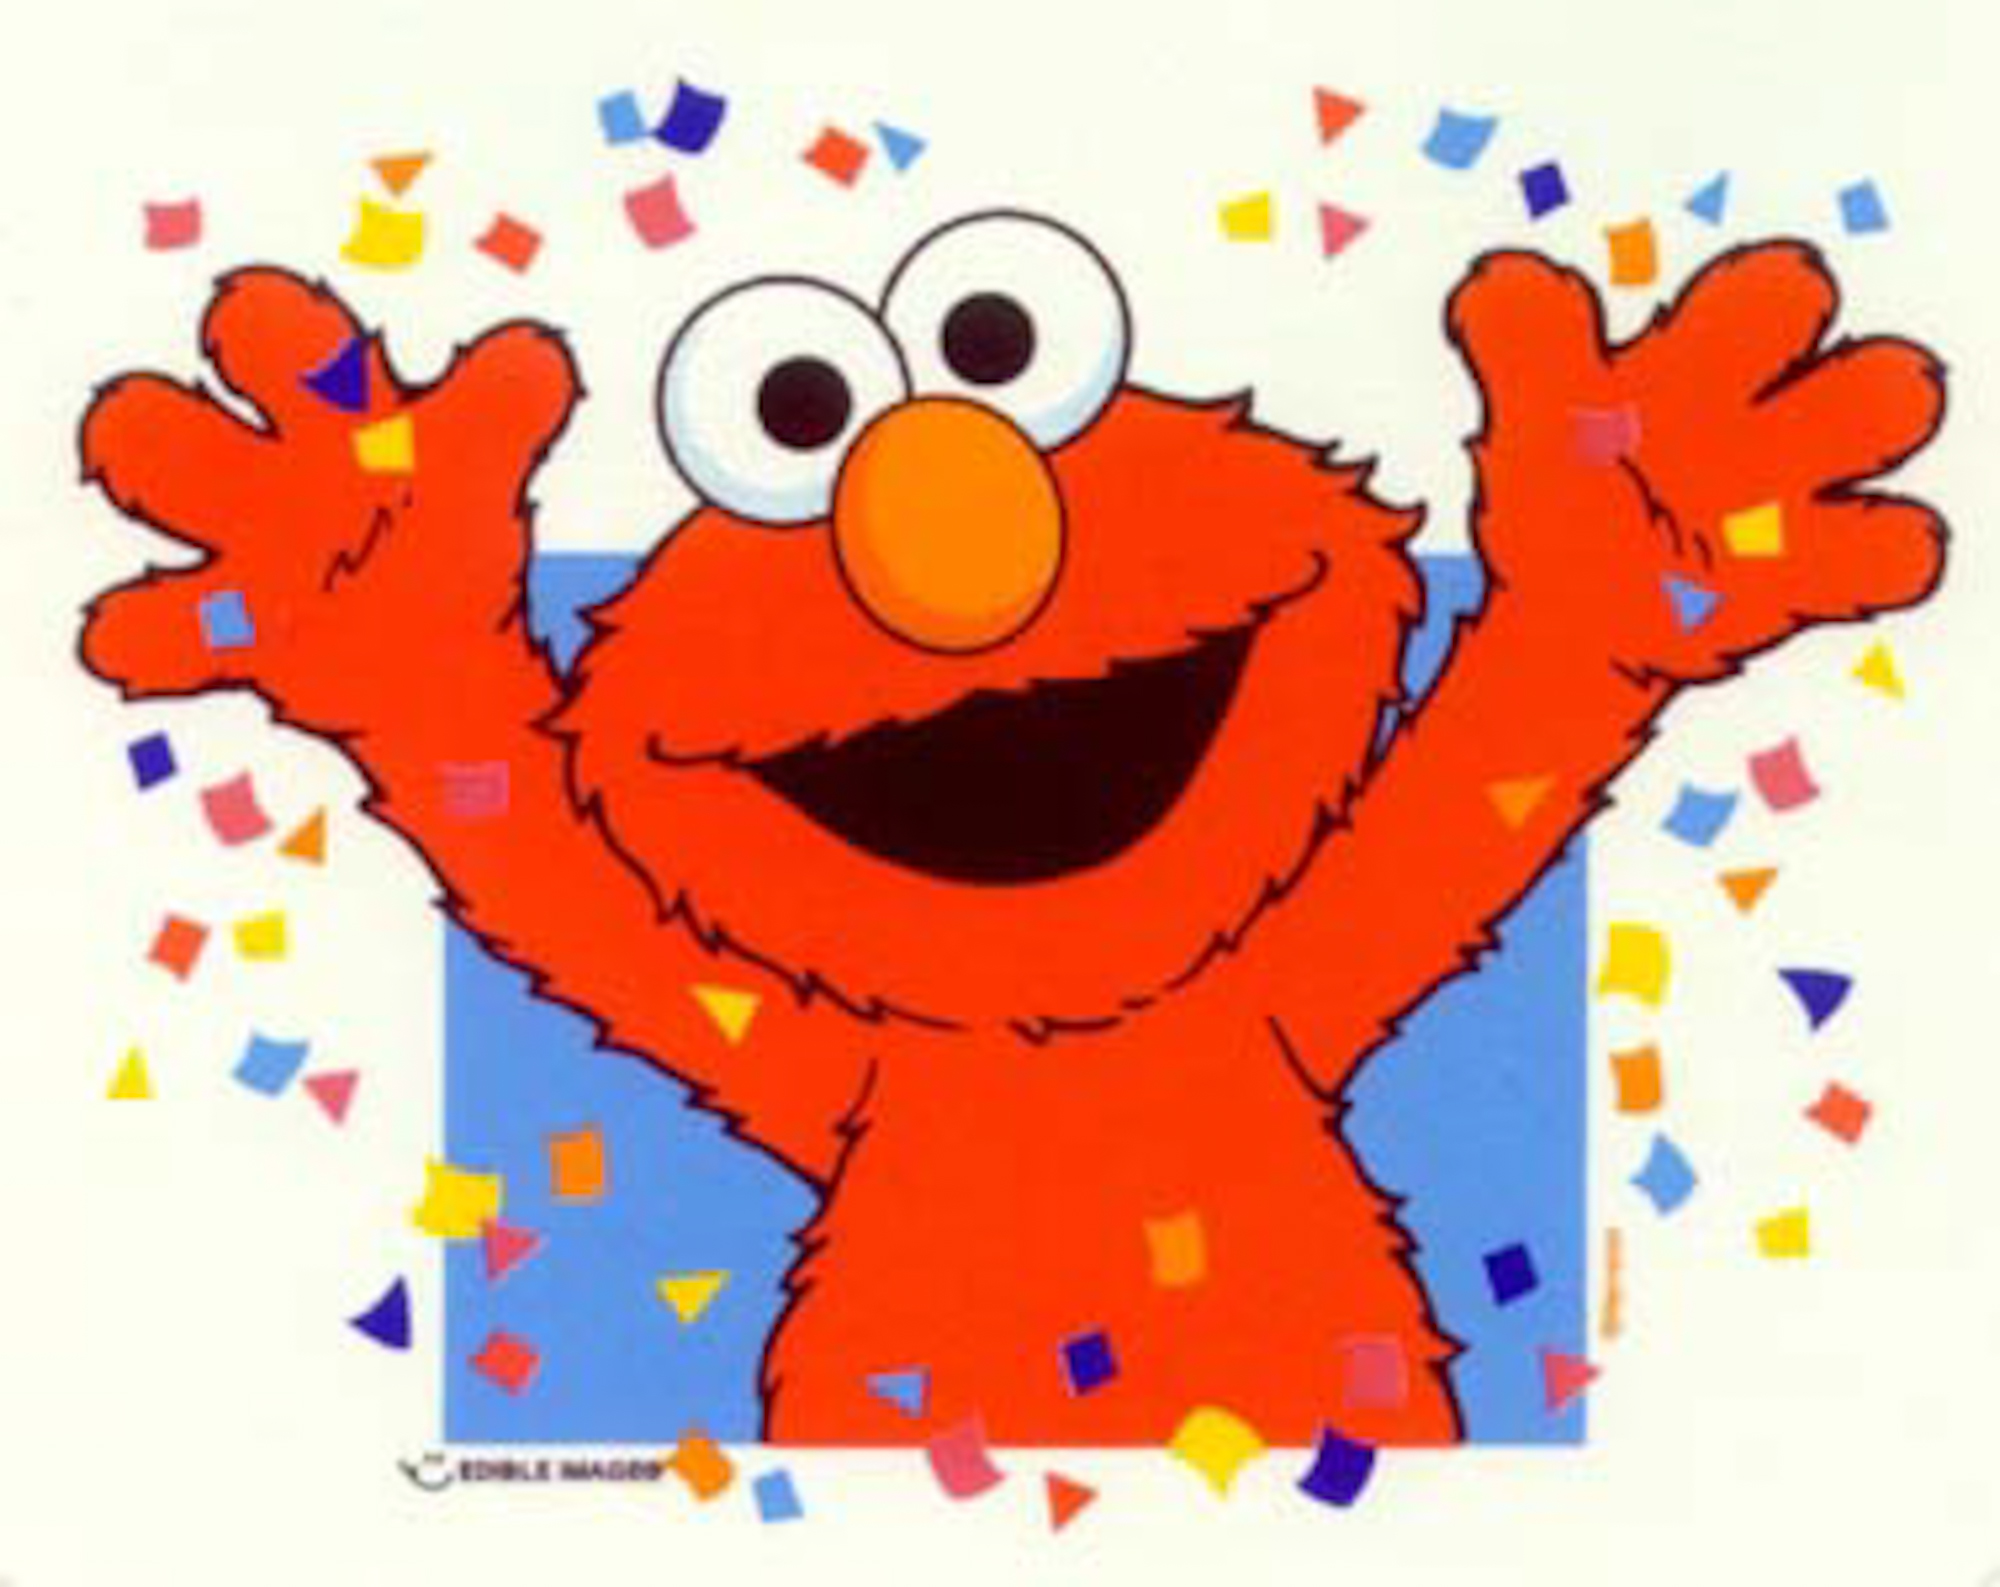
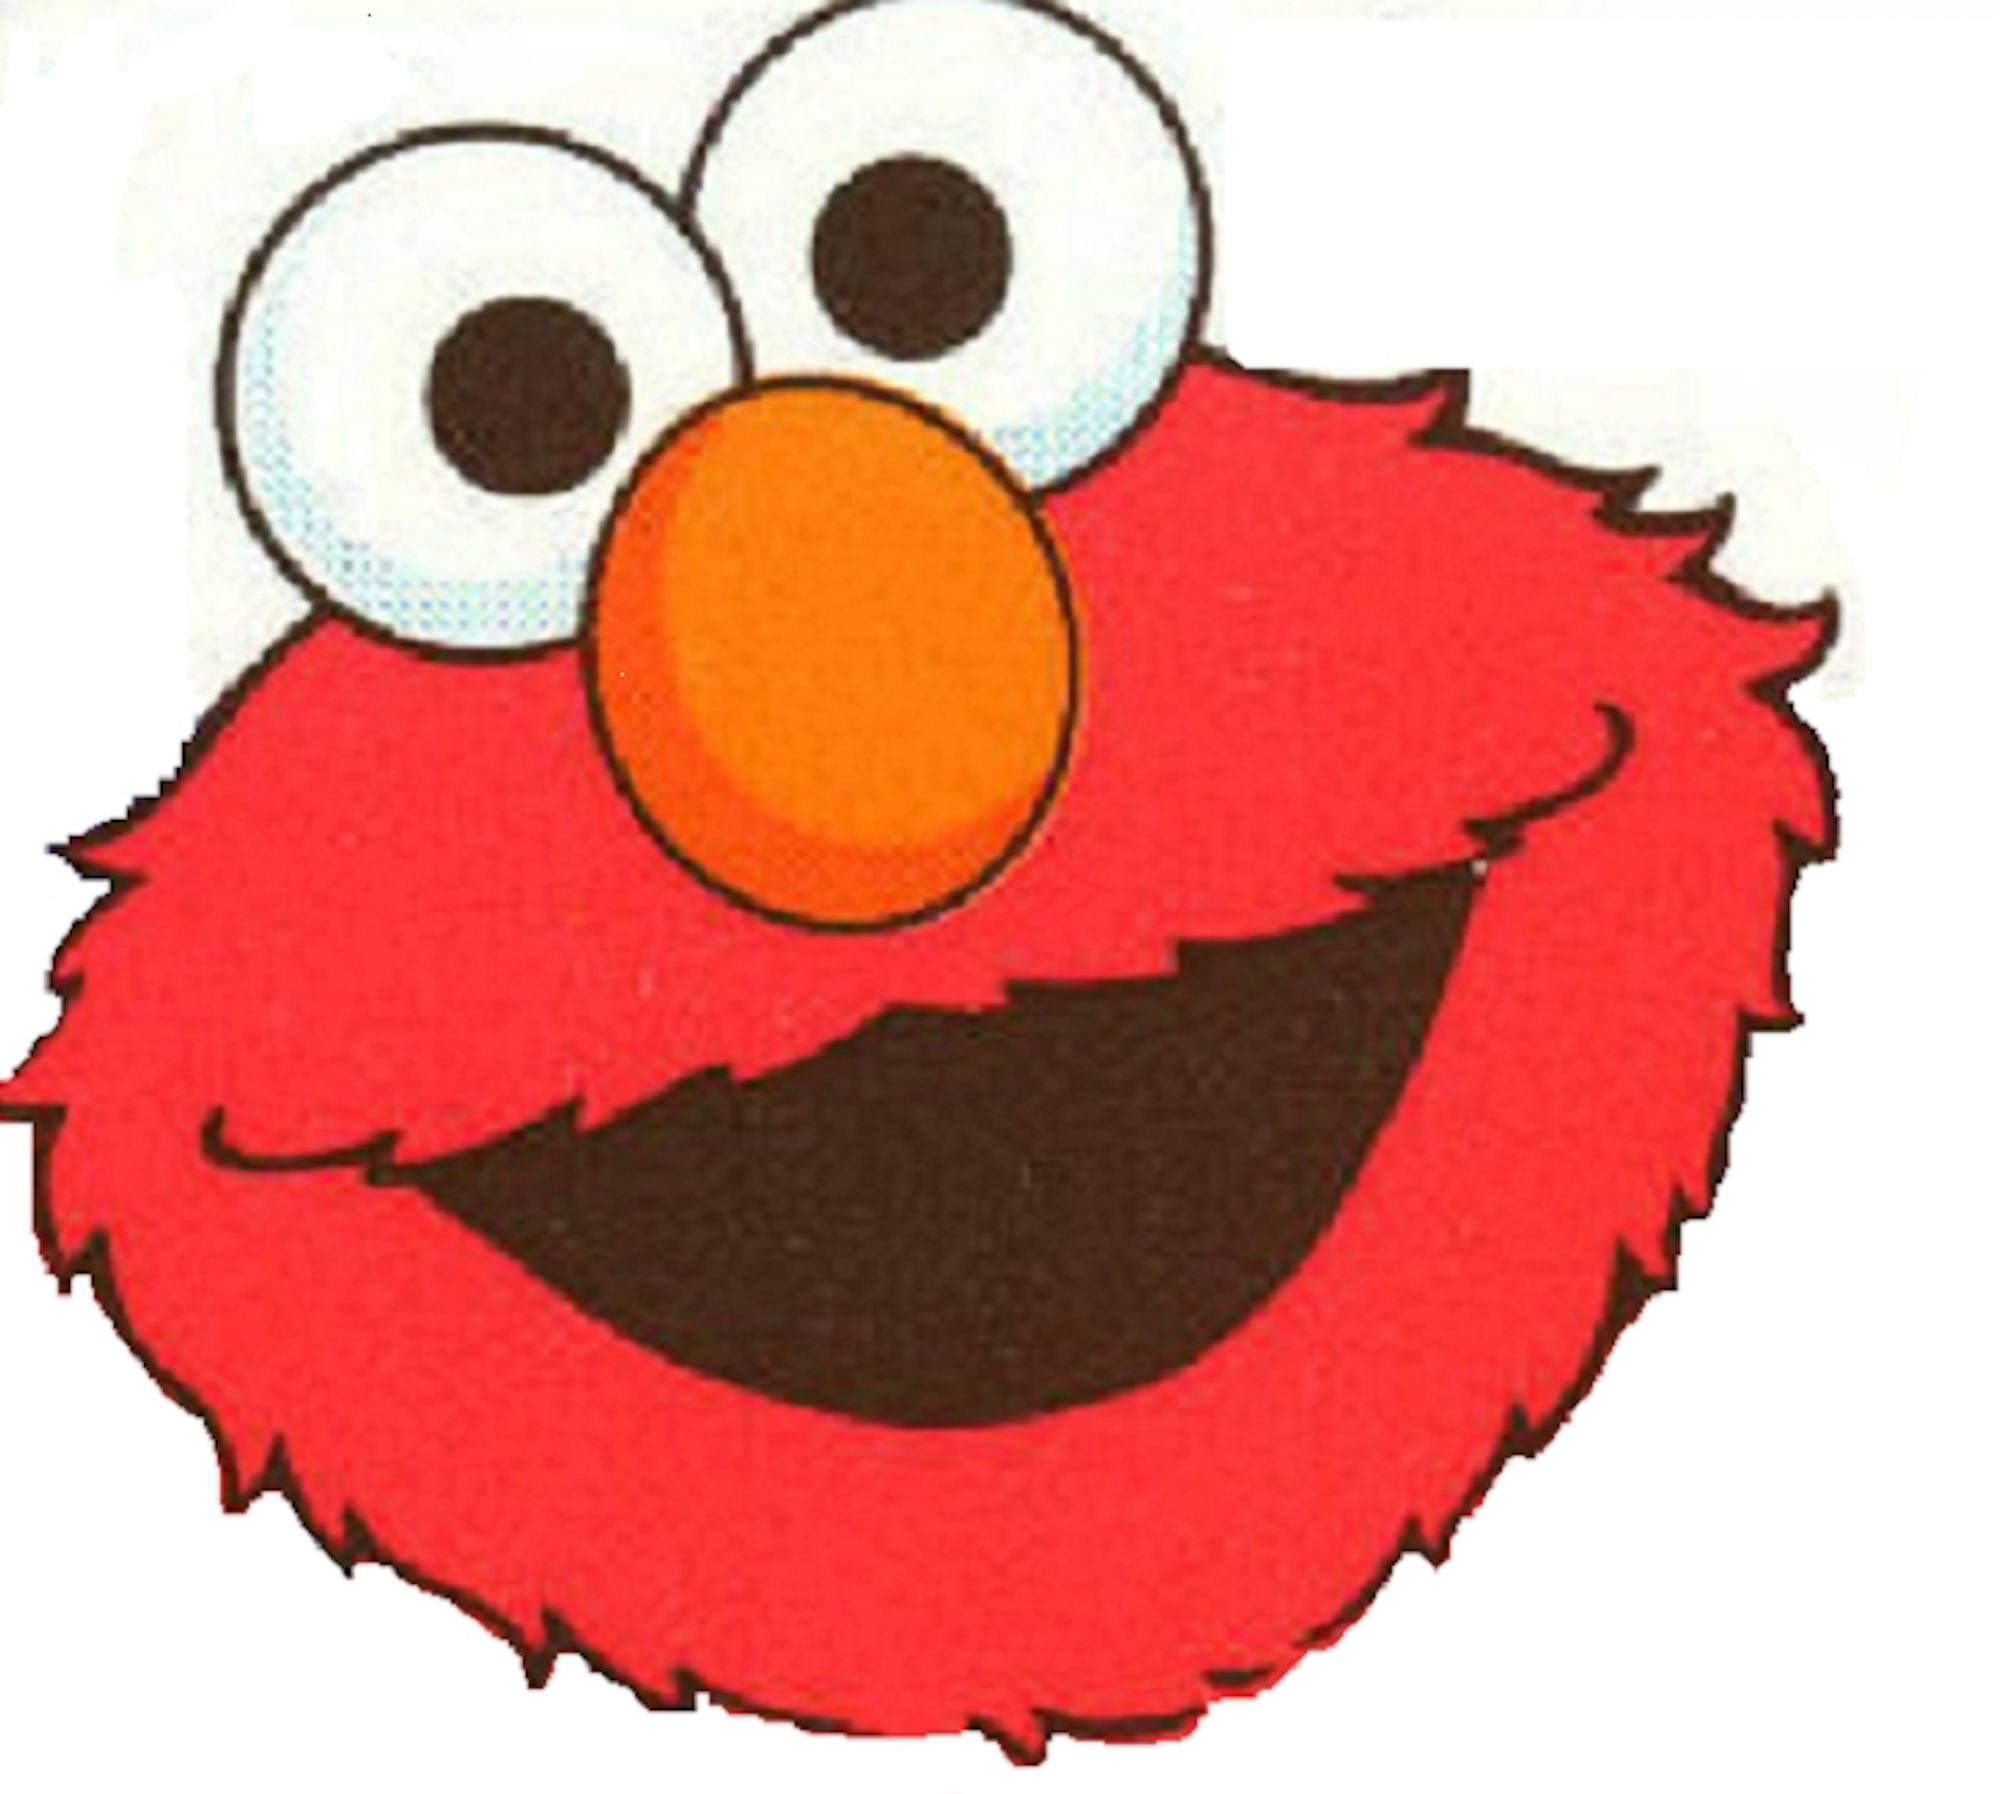
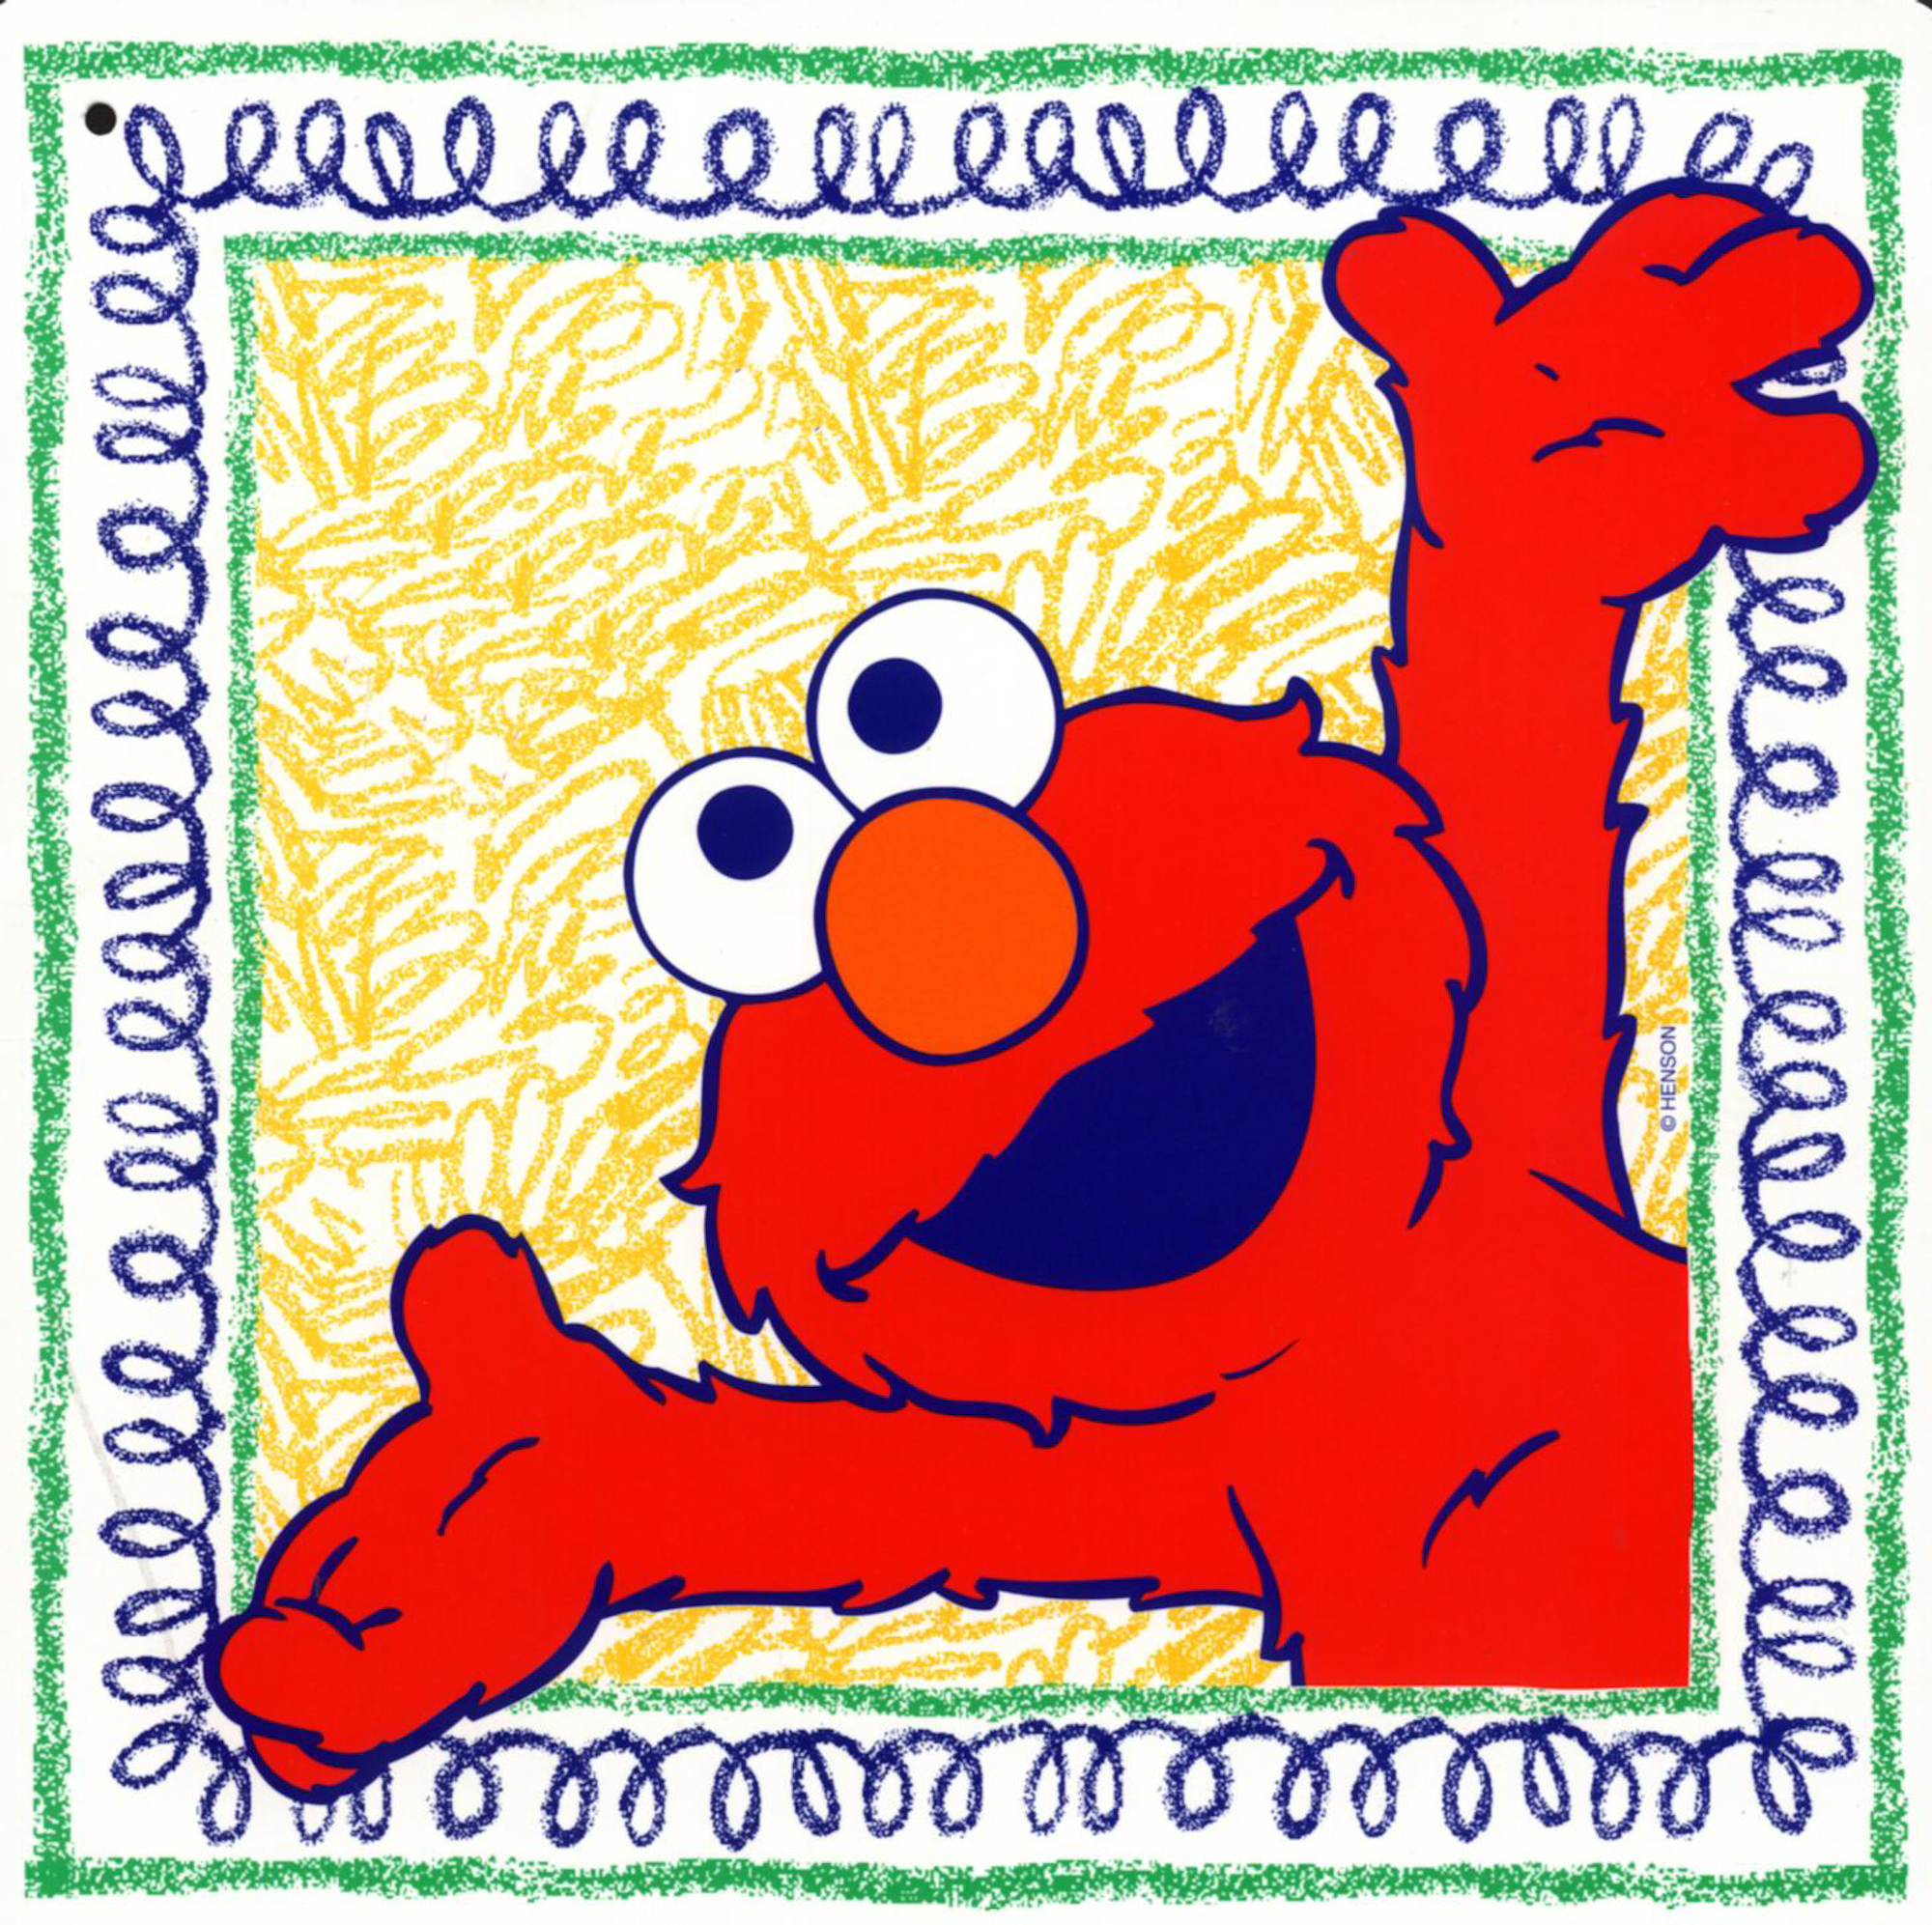
Elmo Graphics
Here are several images of elmo that you can use to spruce up your party decorations. Click on each image to get the larger version of it, then right click and download it.
 |
 |
 |
 |

Well that’s it!
I hope you find stuff here you can use and please spread the word! I spent SO much time putting all this together for my little one – hopefuly others don’t have to spend so much time!
And please leave other ideas if you have them!
Thanks!
Super cute backpack & lunch box
We ran to whole foods the other day for a quick ingredient run (we were making chinese eggplant) and I fell in love with these animal backpacks and lunch boxes by skip hop that they had near the checkout counter. Clearly, the check out counter displays are made specifically for people like me… =)
Anyways, we couldn’t resist buying them – especially since R had just received a gift from her Masi Dadi (grandma’s sister) recently. So, this became her gift! Yay!


 The sunglasses and microphone are optional accessories =)

Weekly Photo Challenge: Flowers
This is my entry for the weekly photo challenge – didn’t stick to just one pic, sorry! These are all pictures that I took during our recent trip to Virginia. Lots of beautiful foliage there!


Check out some other great entries here!
Ihearfaces Weekly Photo Challenge: Pets
This is my cat Seege when he was just a wee little kitten. Maybe not sooo weee…. =) Can’t believe he used to be this small because now he is HUGE! He LOVES to eat!


A Refreshing Cilantro & Mint Chutney
Indian Style Mint & Cilantro Chutney
Growing up, my mom and aunts would make this AMAZING cilantro and mint chutney that I would eat by the spoon full (when they weren’t looking =), and most of all I loved to eat it was these Indian crackers called Mathari. I couldn’t…and still can’t…get enough of it!
Well, we had a lot of cilantro and mint from our garden, so I decided to take the plunge and try to make it myself! I got the recipe from my aunt and finally made it! So thought I’d share:
Ingredients (i’m giving approximate amounts, but a lot of this is to taste):
2 bunches of cilantro (take off the thick stems)
1/2 bunch of mint (leaves only)
1-2 jalapenos (depending on how hot you like it)
1 green (i.e. super raw) mango – if you have it
lemon or lime juice (about 1/4 cup)
black salt (to taste, probably 2-3 teaspoons)
regular salt (to taste, probably ~1 teaspoon)
cumin powder (to taste, about 1-2 tablespoons)
handful of cashews to thicken it (if you have them – not necessary)
 Yummy cilantro, with the thick stems removed. Small stems are ok.
 Mint…leaves only.

Instructions:
Throw everything into a blender and blend away! They key is to start of slowly, and then speed up. You may need to add a little bit of water so there is enough liquid to get the blender going. The rest of the liquid will come from the lemon juice – so just keep adding them to taste. The end taste of the chutney is supposed to be pretty tart. I think for the amount of cilantro and mint I wrote above, I would probably use about 1/4 cup lemon juice and a fair amount of black salt.

And then enjoy!!!!
Eat it with crackers, or eggs (it is GREAT on an omelet), or a veggie sandwhich.
Have fun!
Weekly Photo Challenge: Entrance
This week’s weekly photo challenge from the Daily Post is: Entrance. These are all pictures of doors in Italy that I took on my Honeymoon almost 9 years ago. I just loved all the old and interesting looking doors, even on them most ordinary buildings!


New Tutorials & Ideas Page!

I have finally consolidated all of my tutorials and crafts that I have made from other blogs into one page so they are easy to find and browse.

Come check them out and find something you want to make!
Stuffed Penguin Tutorial (Free Pattern)

Meet Paco the penguin…
…he is a little reserved, likes to keep things cool, and tries to avoid crazy situations…
…he is a great friend and loves to keep little kids company!
You might have seen my recent post (and free pattern) for making a cute stuffed sea turtle – well immediately after I finished that, I set on making this cute guy. I have a friend for whom I knew I wanted to make one sea turtle and one penguin, so I was super excited to get them both going!
So, here is my little tutorial on how to make your OWN Paco the penguin…or Pete…or Paul…or Prakash =)
First, download and print the pattern pieces (this is made for US Letter size paper, although size is not a huge issue here…but know that printing this full size on an 8.5×11 size paper does not yield a huge penguin…so if you want something bigger, you will need to enlarge it!):

(Please note: This Pattern is only for personal use. It is copyright protected and not available for commercial use without expressed permission from JAS Photography LLC. Please email info@jas-photo.com if you would like a commercial license for this pattern)
Next, cut out your pattern pieces:
You need:
1) 2 body pieces
2) 1 face
3) 1 tummy
4) 2 outer black eyes + 2 inner white eye reflections
5) 1 nose
6) 2 feet
7) 4 arm pieces

Then put your face together. Start with the outer black eyes, and then put the white eye reflections on top. I did not agonize too much in placement…just eyeballed it. That’s kind of how I roll for all things. I used a straight stitch to put the eyes on, and as you can see below – I tried both a straight stitch as well as a quilting applique technique for the nose. I like both, but I feel like the applique stitch in the contrasting thread looks like too much! Maybe if it was in the same color it would be ok.

Here is a close-up of the two faces with the different stitches for the nose. You can decide what you like better!

Nothing fancy…but cute anyways!

Of course after I tried the applique stitch, i then found the matching thread color…oh well…

Next put on the tummy. Again, I used a straight stitch just inside the edge of the tummy.

Then you attach the feet. I found the right color thread here, so I used the applique stitch for the feet.

Just make sure not to put them too close to the bottom because the outer 1/4-1/2 inch of the whole side will be stitched into the last seam.

So here is Paco the Penguin’s finished front side!

Next take 2 hand pieces, right sides together, and stitch from the beginning of one curved edge, up to the point, and down the other curved edge. keep the straight edge open so you can turn it inside out and stuff it.

Once you have done that for both arm pieces, turn them right side out, and stuff them with stuffing.

Then close the arms with a straight stitch along the straight edge. Then place the arms on the RIGHT side of the front of Paco, and line up the raw edges as you see below. Then straight stitch it into place. Make sure to stitch FARTHER from the raw edge than the previous seam used to close the arm.


Are you excited?? We are almost done!

Ok next, take the front piece, and put it right side down on the back piece (right sides together). Pin them in place.

I think it is helpful to have the front piece on top when you are sewing so that you can see the other seams and make sure you sew outside of the seams for the face and tummy, but inside the arm seams. Make sure to leave about 1.5 inches open along the bottom of the penguin’s body.

Then turn the penguin right side out through the open part of the seam, and stuff it with your stuffing of choice. You can also put a little jingle bell inside at this point if you like.

Don’t stuff too much, otherwise the shape of the penguin will be kind of funky…

Once you finish stuffing the penguin, sew the opening closed (I hand sewed this part) and you are done!
Now let Paco free to have some fun!
And make him a friend!

Have fun and I would love to hear your comments/suggestions for improvements. Thanks!
(Please note: This Pattern is only for personal use. It is copyright protected and not available for commercial use without expressed permission from JAS Photography LLC. Please email info@jas-photo.com if you would like a commercial license for this pattern)
I Heart Faces Photo Challenge: Eyes
Here is my entrance for this week’s weekly photo challenge at I Heart Faces: Beautiful Eyes.
This is my little girl…when she was younger (for that matter, even now) she would always stare at me with this serious face…and I would always get entranced by her eyes!

Check out other great entries here!
Weekly Photo Challenge: Mountains
I’m a little late for last week’s photo challenge from the Daily Post – but figured I’d still like to post something up!
This picture is not the best quality in that it is scanned from a print, and looking at it closely, not a good scan. But the picture itself is still something I love, and it has a great memory. This was taken from the hot air balloon ride that my L took me on when he proposed to me 10 eyars ago! Great memories =)

