iheartfaces: bust a gut
Ok, so this is not exactly “busting a gut”… but I love the expression in this picture…so I’m sticking with it =)
‘
Stay tuned for my weekly photo tip tomorrow!
Check out some other entries from this week’s photo challenge at I Heart Faces!

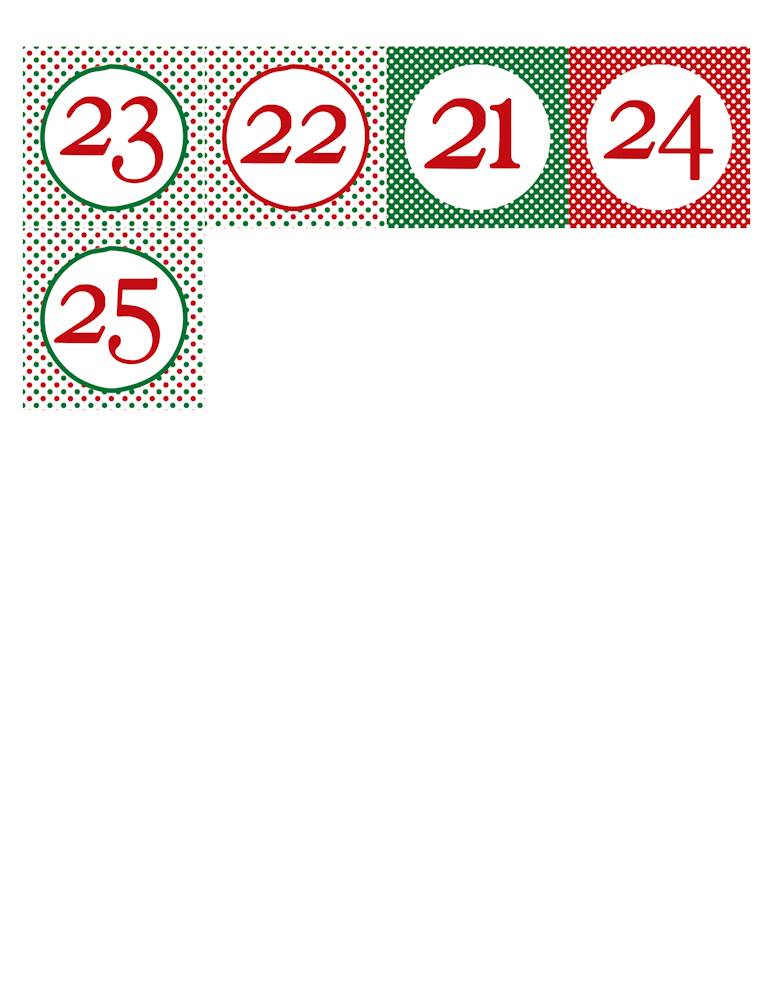
Friday Freebie – Advent Calendar Number Printables!

As promised, here are the cute christmas numbers to use for your own DIY advent calendar!

The numbers are all “out of order” on the page so that when you put them in order, the designs will vary.
Just right-click and save the high quality jpg image and print!
You can either print them on cardstock or label paper, then use a 2 inch plain or scalloped circle to cut out your numbers!
As always, remember these are for personal use only!
Enjoy!
All images and files are Copyright 2011 JAS Photography LLC
Getting ready for Dec 1st!
This year, R is old enough to be excited about and look forward to Christmas!
Well, we have already put up our Christmas decorations, and the countdown as begun. She keeps asking: “Can we do christmas now?”
So although I never really appreciated them before, I have decided to make an advent calendar for her to countdown to christmas!
I have been scouring pintrest, etsy and the internet, and have finally decided to make a “calendar” out of things that I have in the house:
‘
Yarn, clothespins, cute silver bags, and printed numbers.
‘
Ok. so I didn’t already have the numbers. I made those and printed them. It was fun! Stay tuned for the free download on Friday!
‘
My plan is to… paint these clothespins with R as an activity (sometime before Dec 1st!)…
‘
…string the yarn between 2 picture frame hooks…
‘
…then use the clothespins to hang the bags from the yarn!
I haven’t yet figured out how I will attach the numbers to the bags…ideas anyone?
I’ll put up some pictures once I have it done!
Photo Tip of the Week (PTOW): Wide Angle Portraits
Hi everyone! I had a rough week last week…hence the lack of posts.
But today I wanted to share a tip…or idea…when doing photo sessions. I usually use my favorite lens: my Canon 70-200 f/2.8 IS L. However this weekend, I decided to play around a bit with my wide angle and got some fun pictures! I thought the warp around the edges would not look good for portraits, but it did add some cool effects which we all liked.
‘
So, whip out that wide angle and have some fun with it!
Check out Sweet Shot Tuesday!

Baby Boy Pee Covers!
Here is a little something I whipped up for our little one who is on his way…
‘
‘=
Pee Covers!
I bought these for a friend a while back, but they were REALLY small – and she said really hard to “aim” on the kiddo’s weewee – SO, I thought I would make my own that are a tad larger.
‘
Stay tuned for a tutorial!
They are super simple!
‘
Weekly Photo Challenge: Wonder
Here is my little one looking up at the sky while playing outside. I love seeing her like this because I feel like I can see all of her curiosity and wonder for the world on her face!
‘
‘
Photo Tip Of the Week (PTOW) – A Lightroom Adjustment Brush “aha” moment
Quick links:
PHOTO TIP TUESDAY: The OPTION key in Lightroom
I have been talking to alot of friends these days about Lightroom and how great I think it is (no I do not get any kickbacks nor do I have stock in Adobe…I’m not even sure if you can buy stock in adobe… =)
So I thought I would start sharing a tip a week about photography in general with some extra focus on Lightroom.
Many times, I find that I need to bright the shadows on one side of someone’s face, without affecting the brighter side. For that, I often use the adjustment brush in the Develop Module. Well, while doing that, I sometimes accidentally brush over their nose or other area which is already too overexposed. I realized the other day, that instead of having to move my mouse all the way over to the side panel and click on eraser, erase, then click back on the brush, I can just hold down the option key, and imediately have the eraser to use! Hence my “AHA” moment!
So, this week’s tip: press the OPTION key while using the adjustment brush to quickly toggle between the brush and the eraser.
It will likely save you tons of time!


And while you are at it, click on the option key when you are doing just about anything in LR and see what other cool things it allows you to do!
Hope that helps!
SWEET SHOT TUESDAY:
We have been enjoying some abnormally warm weather the last couple of days, and I have been having fun experimenting with my camera
‘
This is a simple pic I took from our driveway, playing around with bokeh on my wide angle lens. Wide angle lenses on full format cameras are GREAT – the warping is so much fun!
IHeartFaces: Autumn Splendor
This week’s photo challenge celebrates autumn!
This is a picture of R playing outside and enjoying all the fallen leaves!

Check out some more great entries here!
Friday Freebie – Picture Day!
It’s time for this week’s Friday Freebie!
This is a picture of a tree I took – trying to experiment with different vantage points. Feel free to right-click and download the picture, and use it for your computer background or other personal uses!
Enjoy!
‘

Please note: This picture is copyright protected 2011 JAS Photography LLC, you may use it royalty free for personal applications. It is not for commercial use. Thanks!
Circular baby changing pad
I recently saw a tutorial on Lil Blue Boo for making a ciruclar baby changing pad and had to do it!
The funny thing is, a friend of mine had one of these and I fell in love with it a couple of years ago. They are by Patemm and are awesome with really cute designs (and I’m sure way better constructed than mine), but I couldn’d bring myself to spend $65 on it. What can I say, sometimes I’m cheap!
Sooooooo, I was very excited to see the tutorial from Lil Blue Boo, especially when I saw how “easy” it was!
Here is the one made in the last couple of days!

It was my first shot, so I made a few mistakes. Definitely check out the tutorial to learn how to make one yourself, but here a couple of my comments you may want to read first.
1) The best time to buy these vinyl tablecloths, is the second half of summer from TJ Maxx or Marshalls when they are starting to go on sale but before they sell out. I went around august and most were all gone! Luckily I found 2 that I like. You can also buy laminated cotton from a fabric store, but it is really expensive! I bought this tablecloth for $5…sweet =)
2) I found out the hard way, that vinyl can tear pretty easily (see sad evidence below). It was my fault though – I was using a regular stitch length. This actually wasn’t a problem when sewing on the bias tape – a regular stitch length is fine for that. It is more when you are sewing the lines across the whole pad that it becomes an issue. SO, I would recommend using a LONG stitch length (I used 4.5).
‘
(this is the small stitch length, too small for the vinyl)
‘
(this is the longer stitch length – worked much better)
‘
To recover from that mistake – I used nylon ribbon (the kind on the straps of backpacks) and sewed it over the 2 lines that were tearing. I also ended up leaving a loop of it at one end to make a handle.
‘
In the tutorial online, Ashely sews 2 lines a third of the way in to make pockets and help guide the folding of the mat. Similar to the Patemm pad, I went ahead and sewed 2 more lines perpendicular to the ones she described. This makes it easy to fold in both directions. It also makes the 2 large pockets a little more usable in my opinion. Unfortunately it blocks off little corner pockets that you can’t really use, but I still like it.
‘
The other thing I did, was instead of using a button or strap closure, I put a piece of elastic on one end so that when it is closed up you can just flip the elastic over the end to keep it closed. I felt like this would be faster and easier.

So as you can see again, this is the finished product! The strap when folded, is a little longer than I intended and I’d probably make it smaller next time. I apparently didn’t account for how it would fold up. But this way I can put it on my shoulder like a purse and head to the bathroom! Perfect for our upcoming baby!
Check out Ashley’s tutorial to make one yourself! It took a total of about 2 hours, and that is WITH all my mistakes!
Have fun =)
